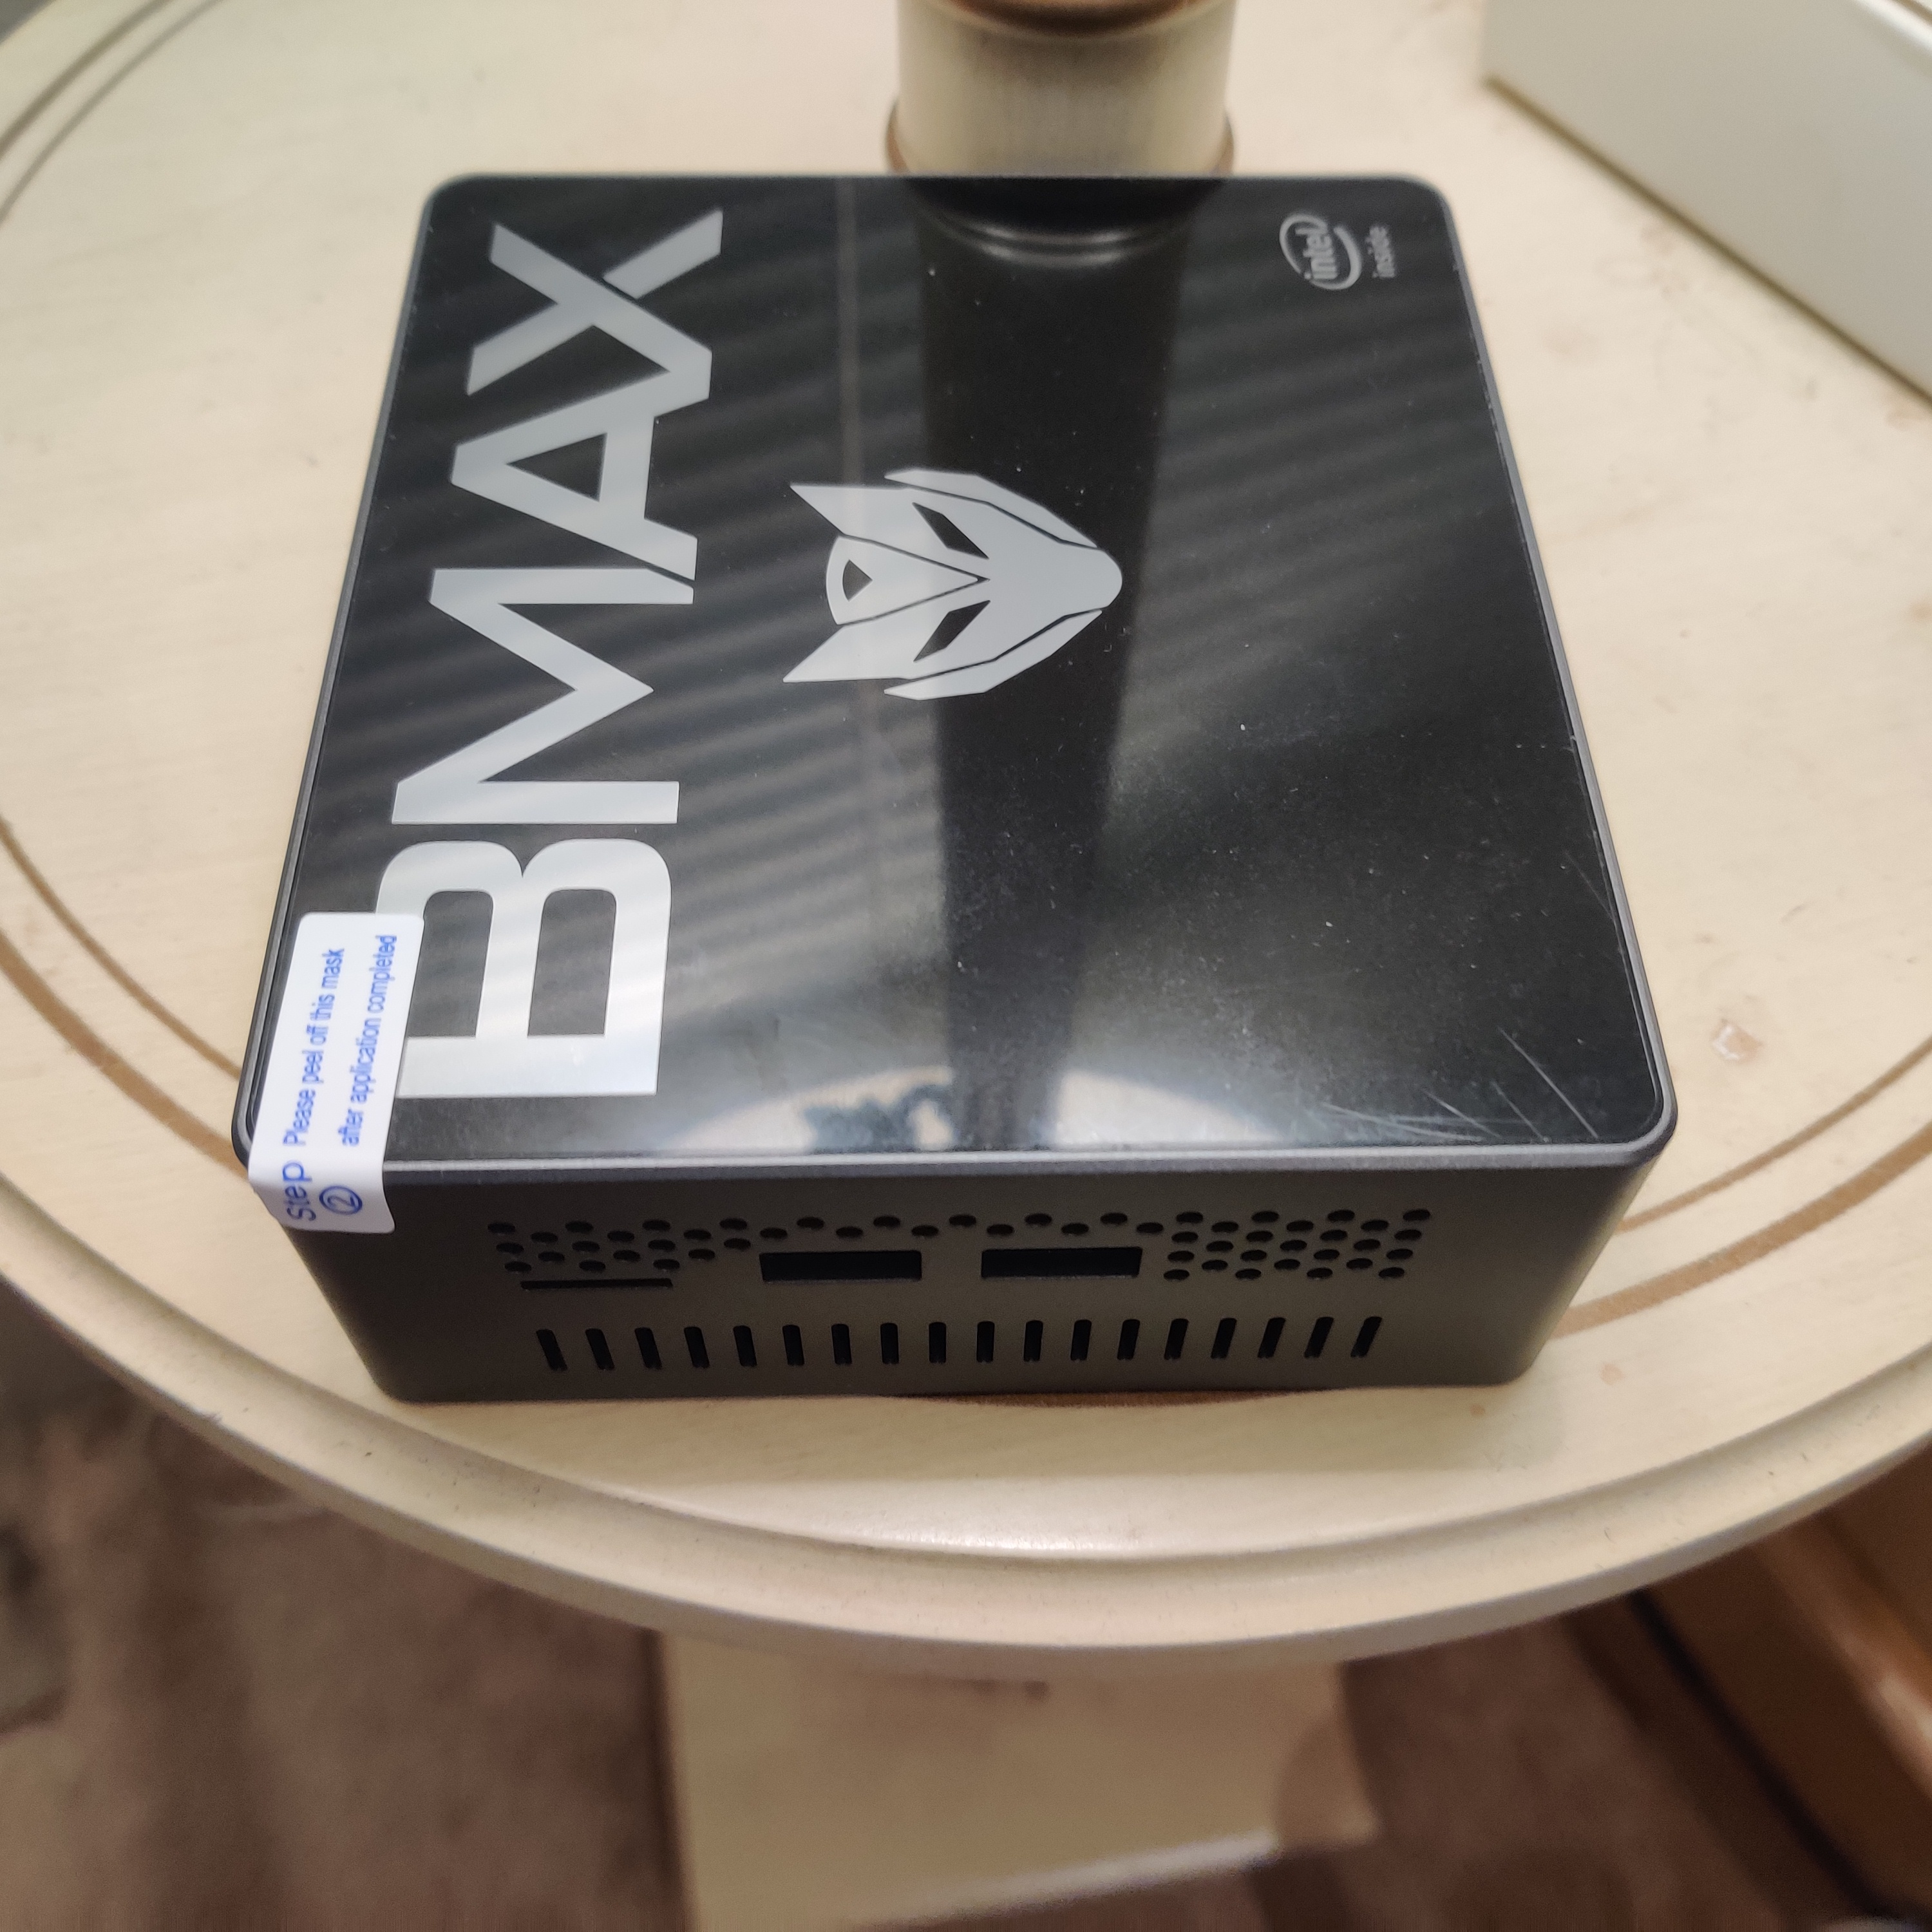
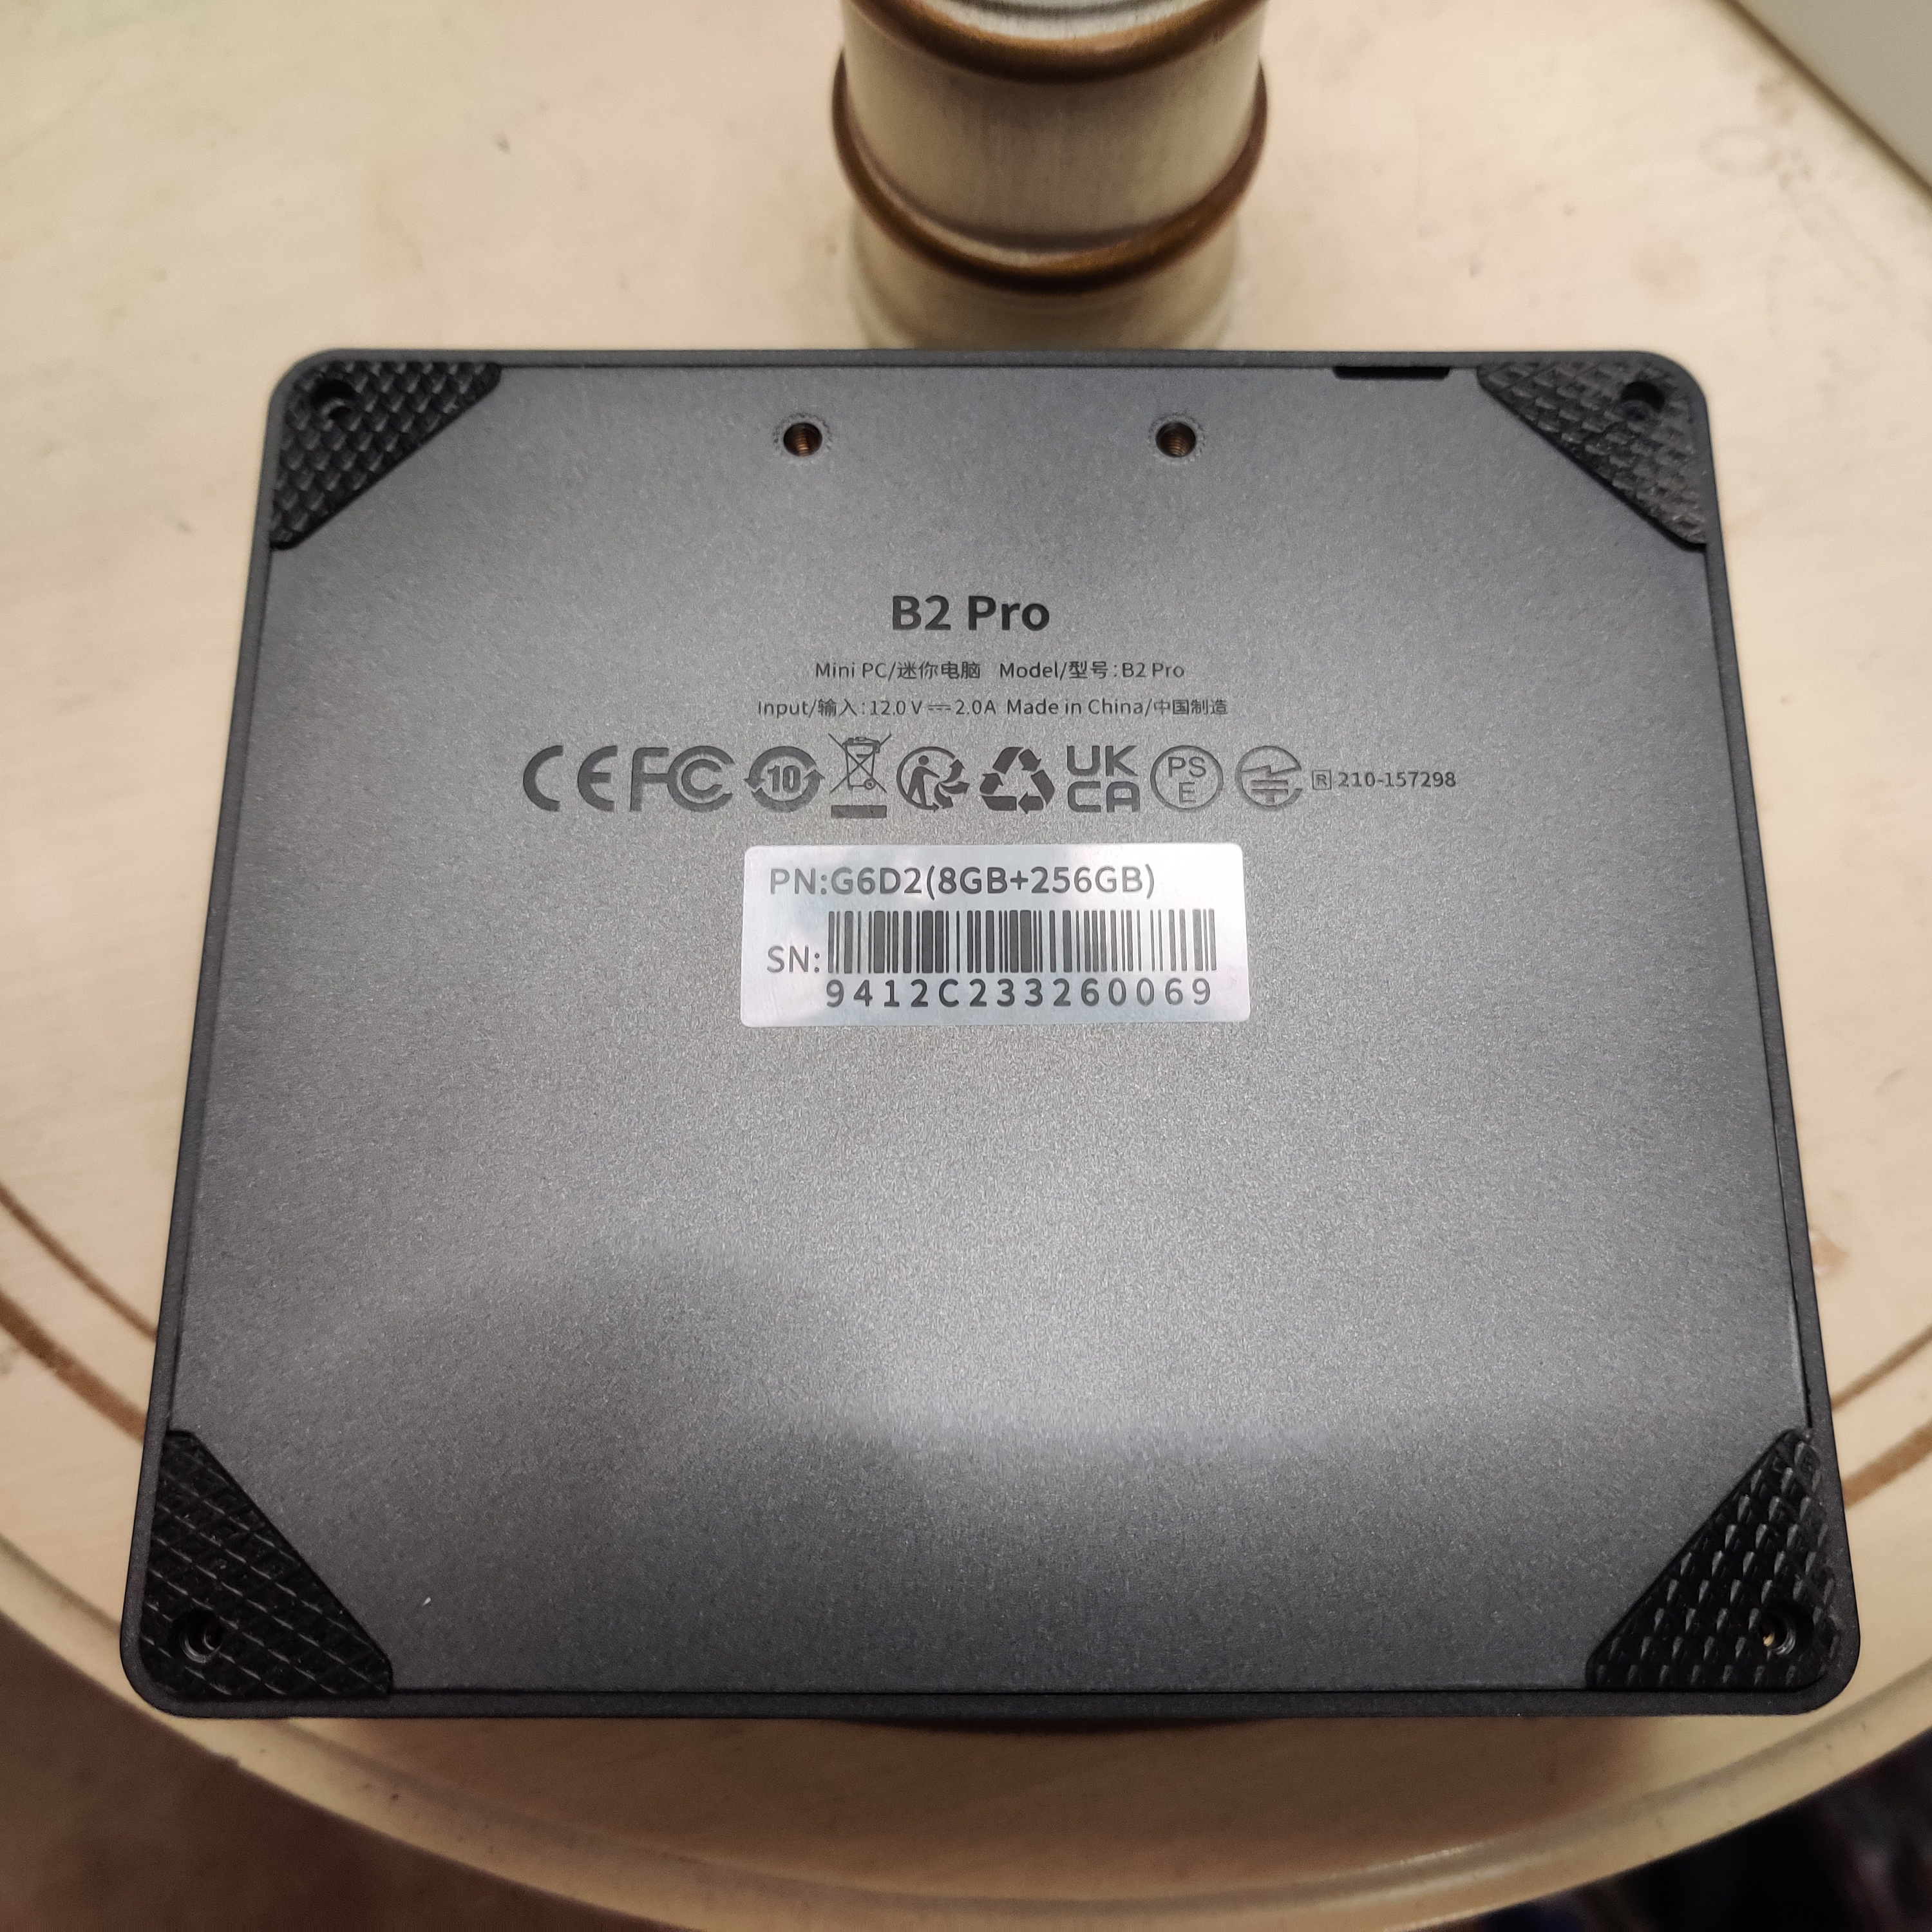
BMAX B2 Pro Modifications
 |
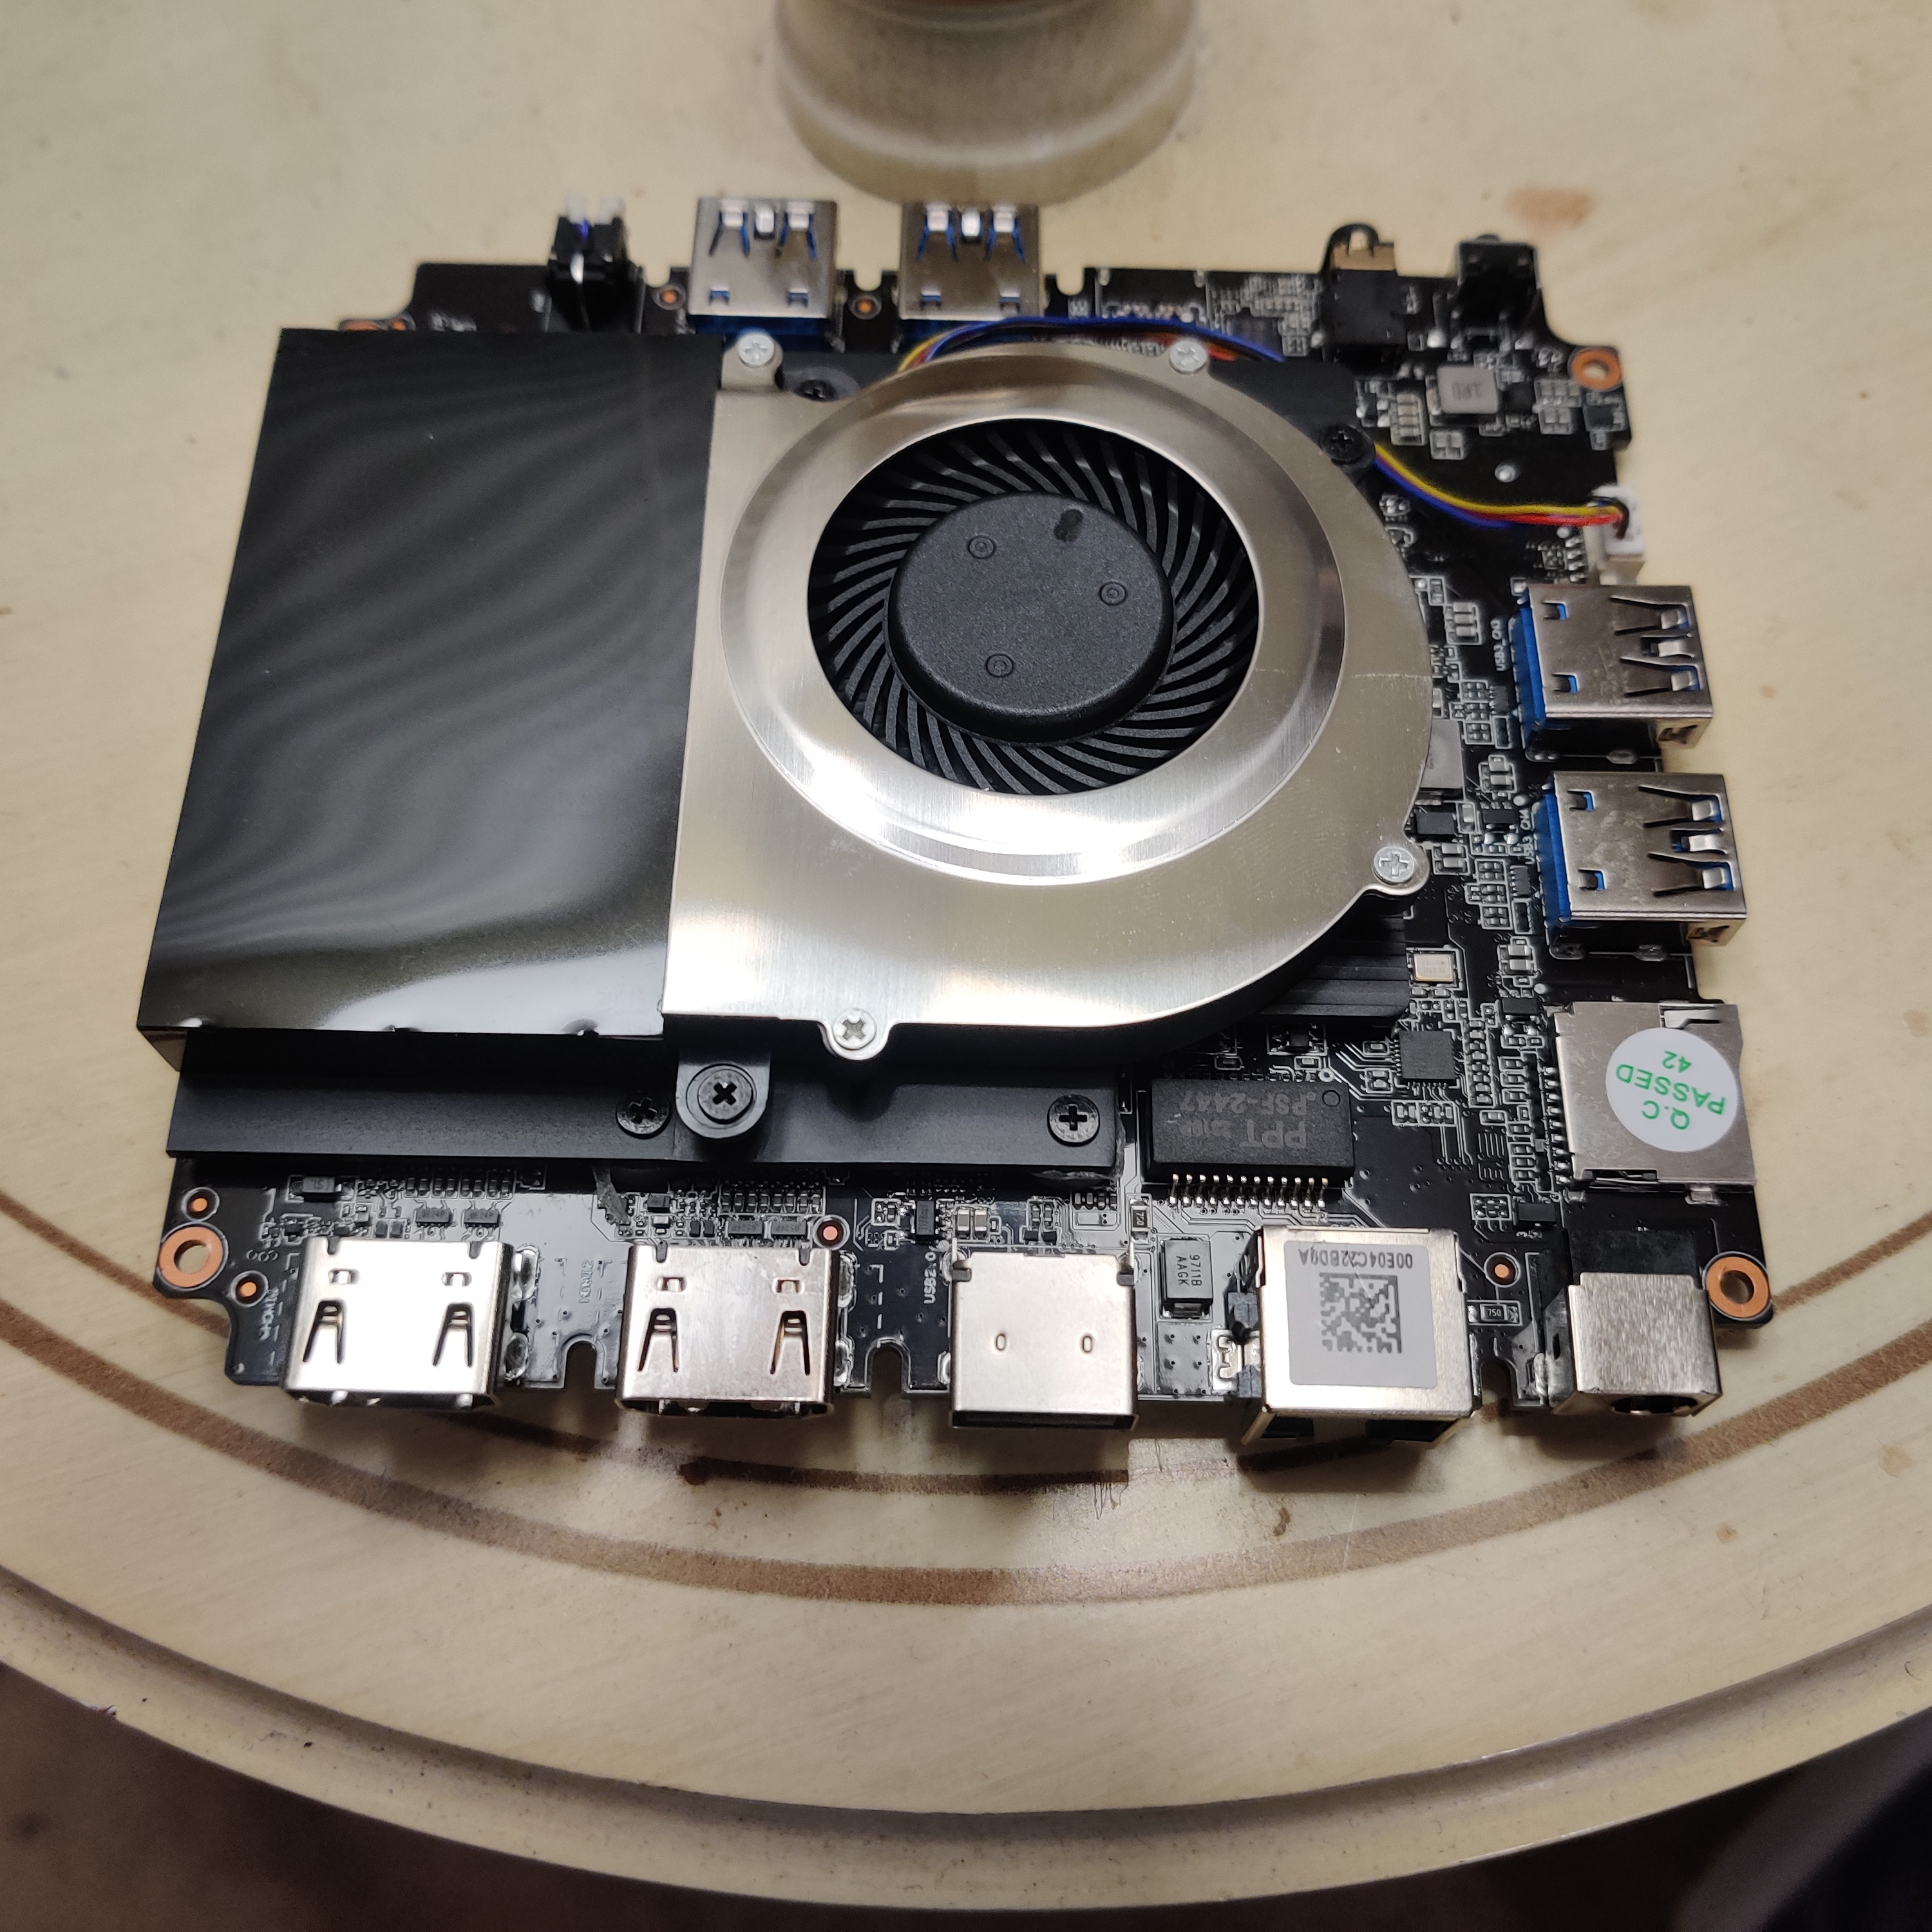
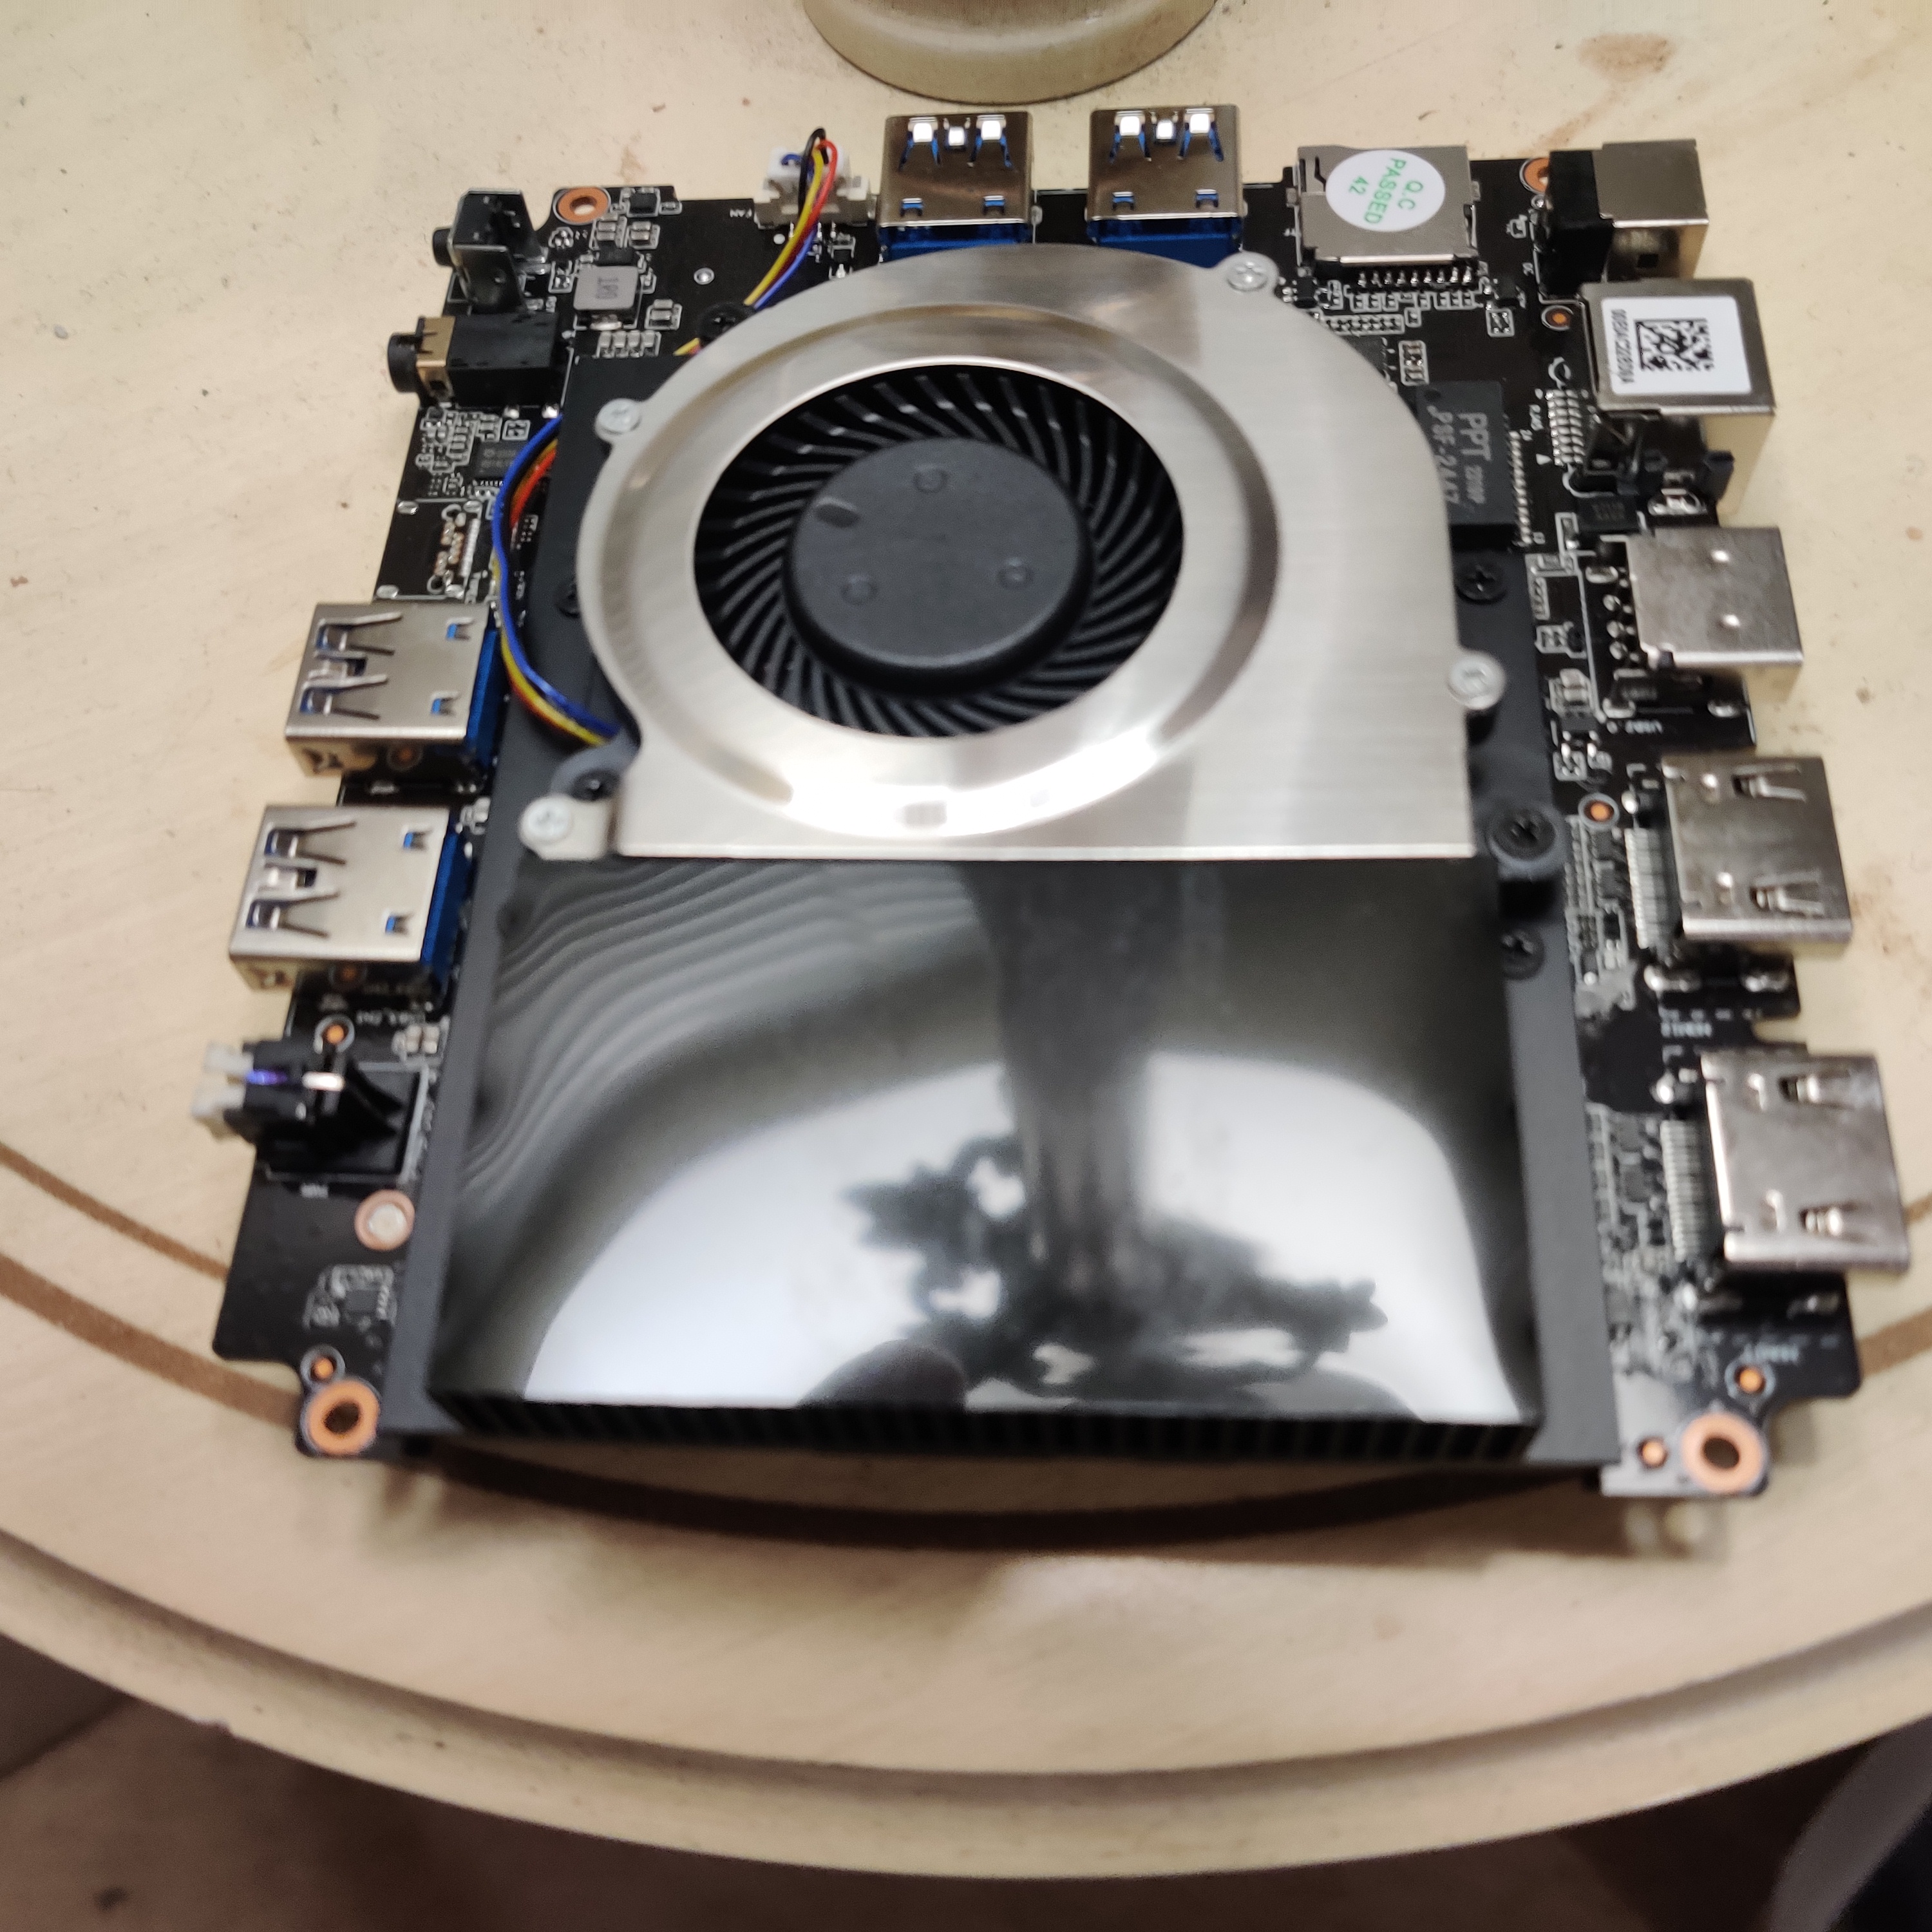
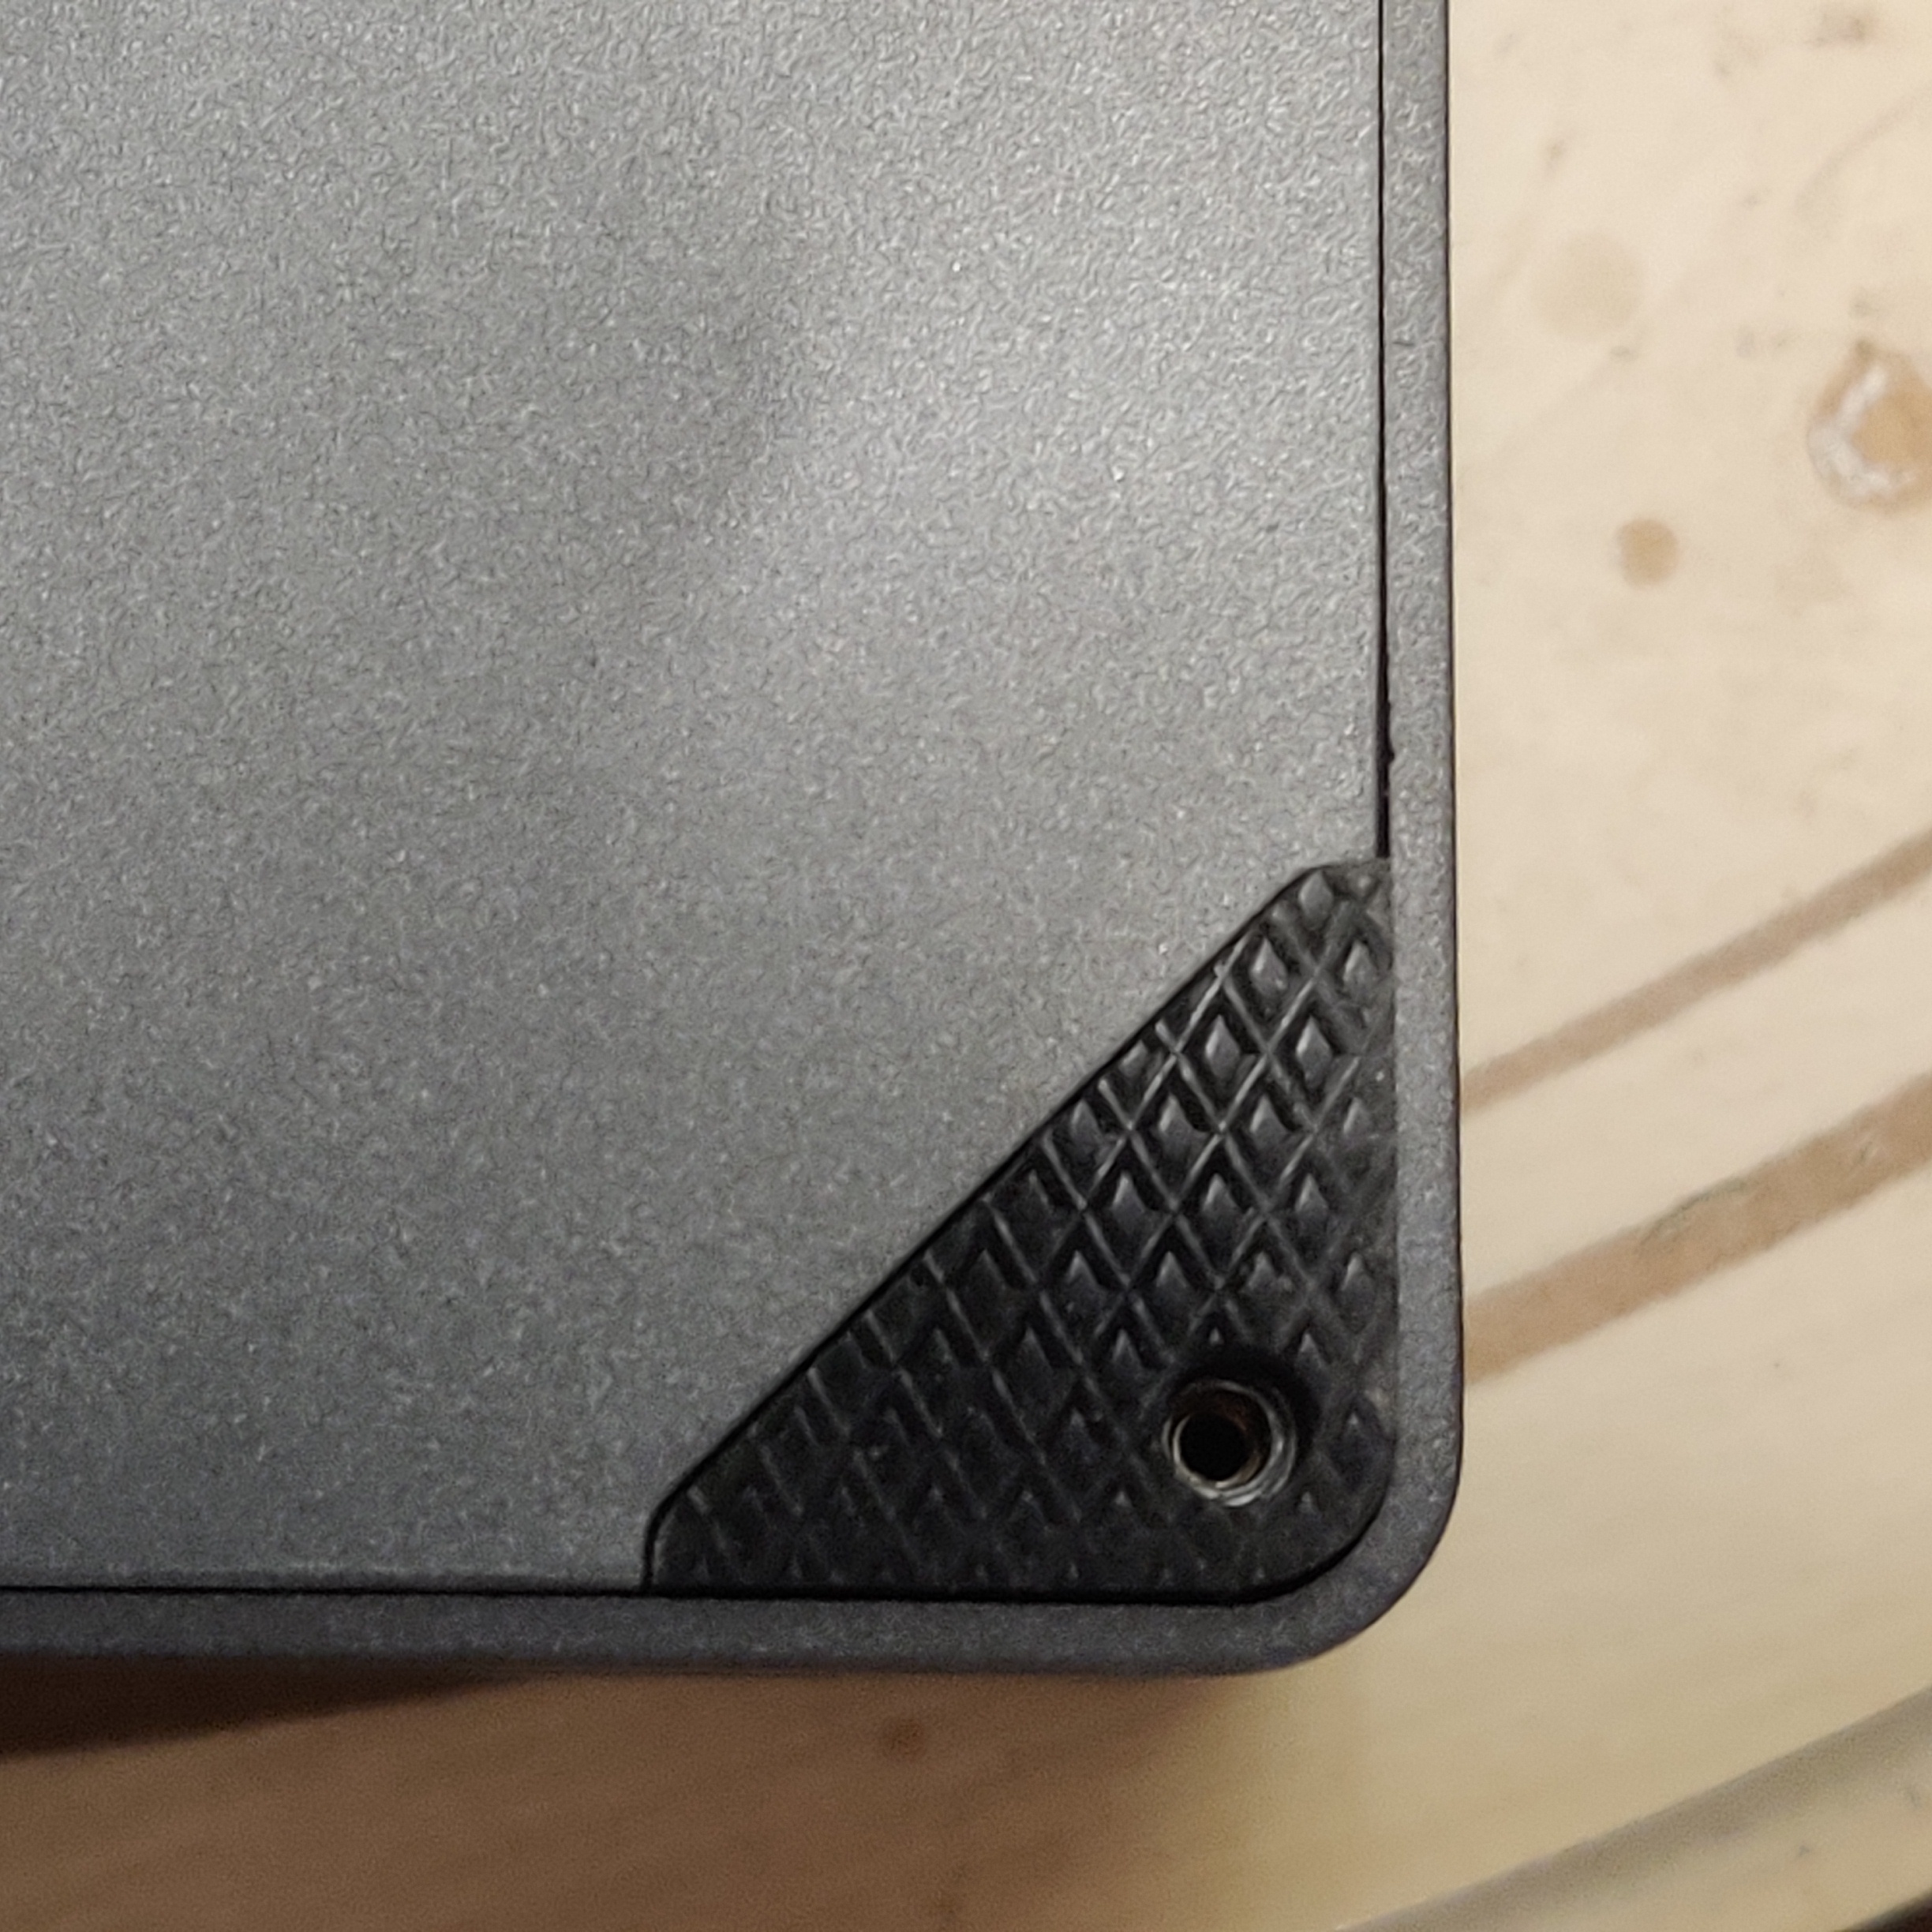
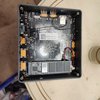
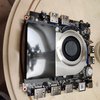
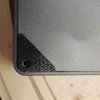
One side of the bmax machine has vents, but no ports. Use a rotary tool such
as a Dremel and a
steel cutting head to
open the plastic where the small-hole vents are, exposing the edge of the CPU
heat sink. Take care not to cut too deeply - the circuit board comes very
near the edge of the plastic case. Make several shallow passes instead,
until you're completely through the case.
Do not use one of the ablative discs; use a steel saw head. The ablative
disks produce dust which can lodge in the machine.
|
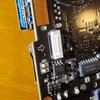
BIOS Settings:
We need to make several changes to the default BMAX BIOS settings for it
to perform as we want in the field. They're detailed below.
When you first start the machine, press the DEL key to enter the bios
configuration. If the machine starts booting the OS first, try ctrl-alt-del
and then press the DEL key when the prompt shows up. If you never see a
prompt, repeatedly press the DEL key after powering on.
|


|
Ark nodes should start automatically when power is
applied, not wait for someone to press the power button. In the "Chipset"
menu across the top, scroll down to "South Cluster Configuration." Select
"Auto Power On Configuration" and change it to "Power On."
|

|
In the "Boot" menu, disable "Fast Boot," so that the bios does a full
self-test before starting Linux.
|

|
In the "Boot" menu, change "Quiet boot" to "disabled" so that BIOS messages
are displayed to the screen during boot.
|

|
In the "Boot" menu, change "Hide Page" to "disabled" so that BIOS messages
are displayed to the screen during boot.
|

|
In the "Boot" menu, change "Bootup Numlock State" to "off" so that BIOS
does not attempt to turn the keyboard numlock on.
|


| We want the machine to stay a little cooler in
operation than the default, so access the "Advanced" menu and select
"Hardware Monitor." Then, change "Smart Fan Control" to "Performance Mode"
instead of Balanced.
If a particular site host finds it too noisy, it's generally okay to set
it back to Balanced, but it may shorten the machine's life. It should NOT be
set to "silent," as this stops the fan most of the time. It should NOT be set
to Full On as this pushes the fan at maximum speed causing it to wear out
sooner.
|


|
In the "Chipset" menu across the top, scroll down to "South Bridge." Select
"OS Selection" and change it to "Linux."
|
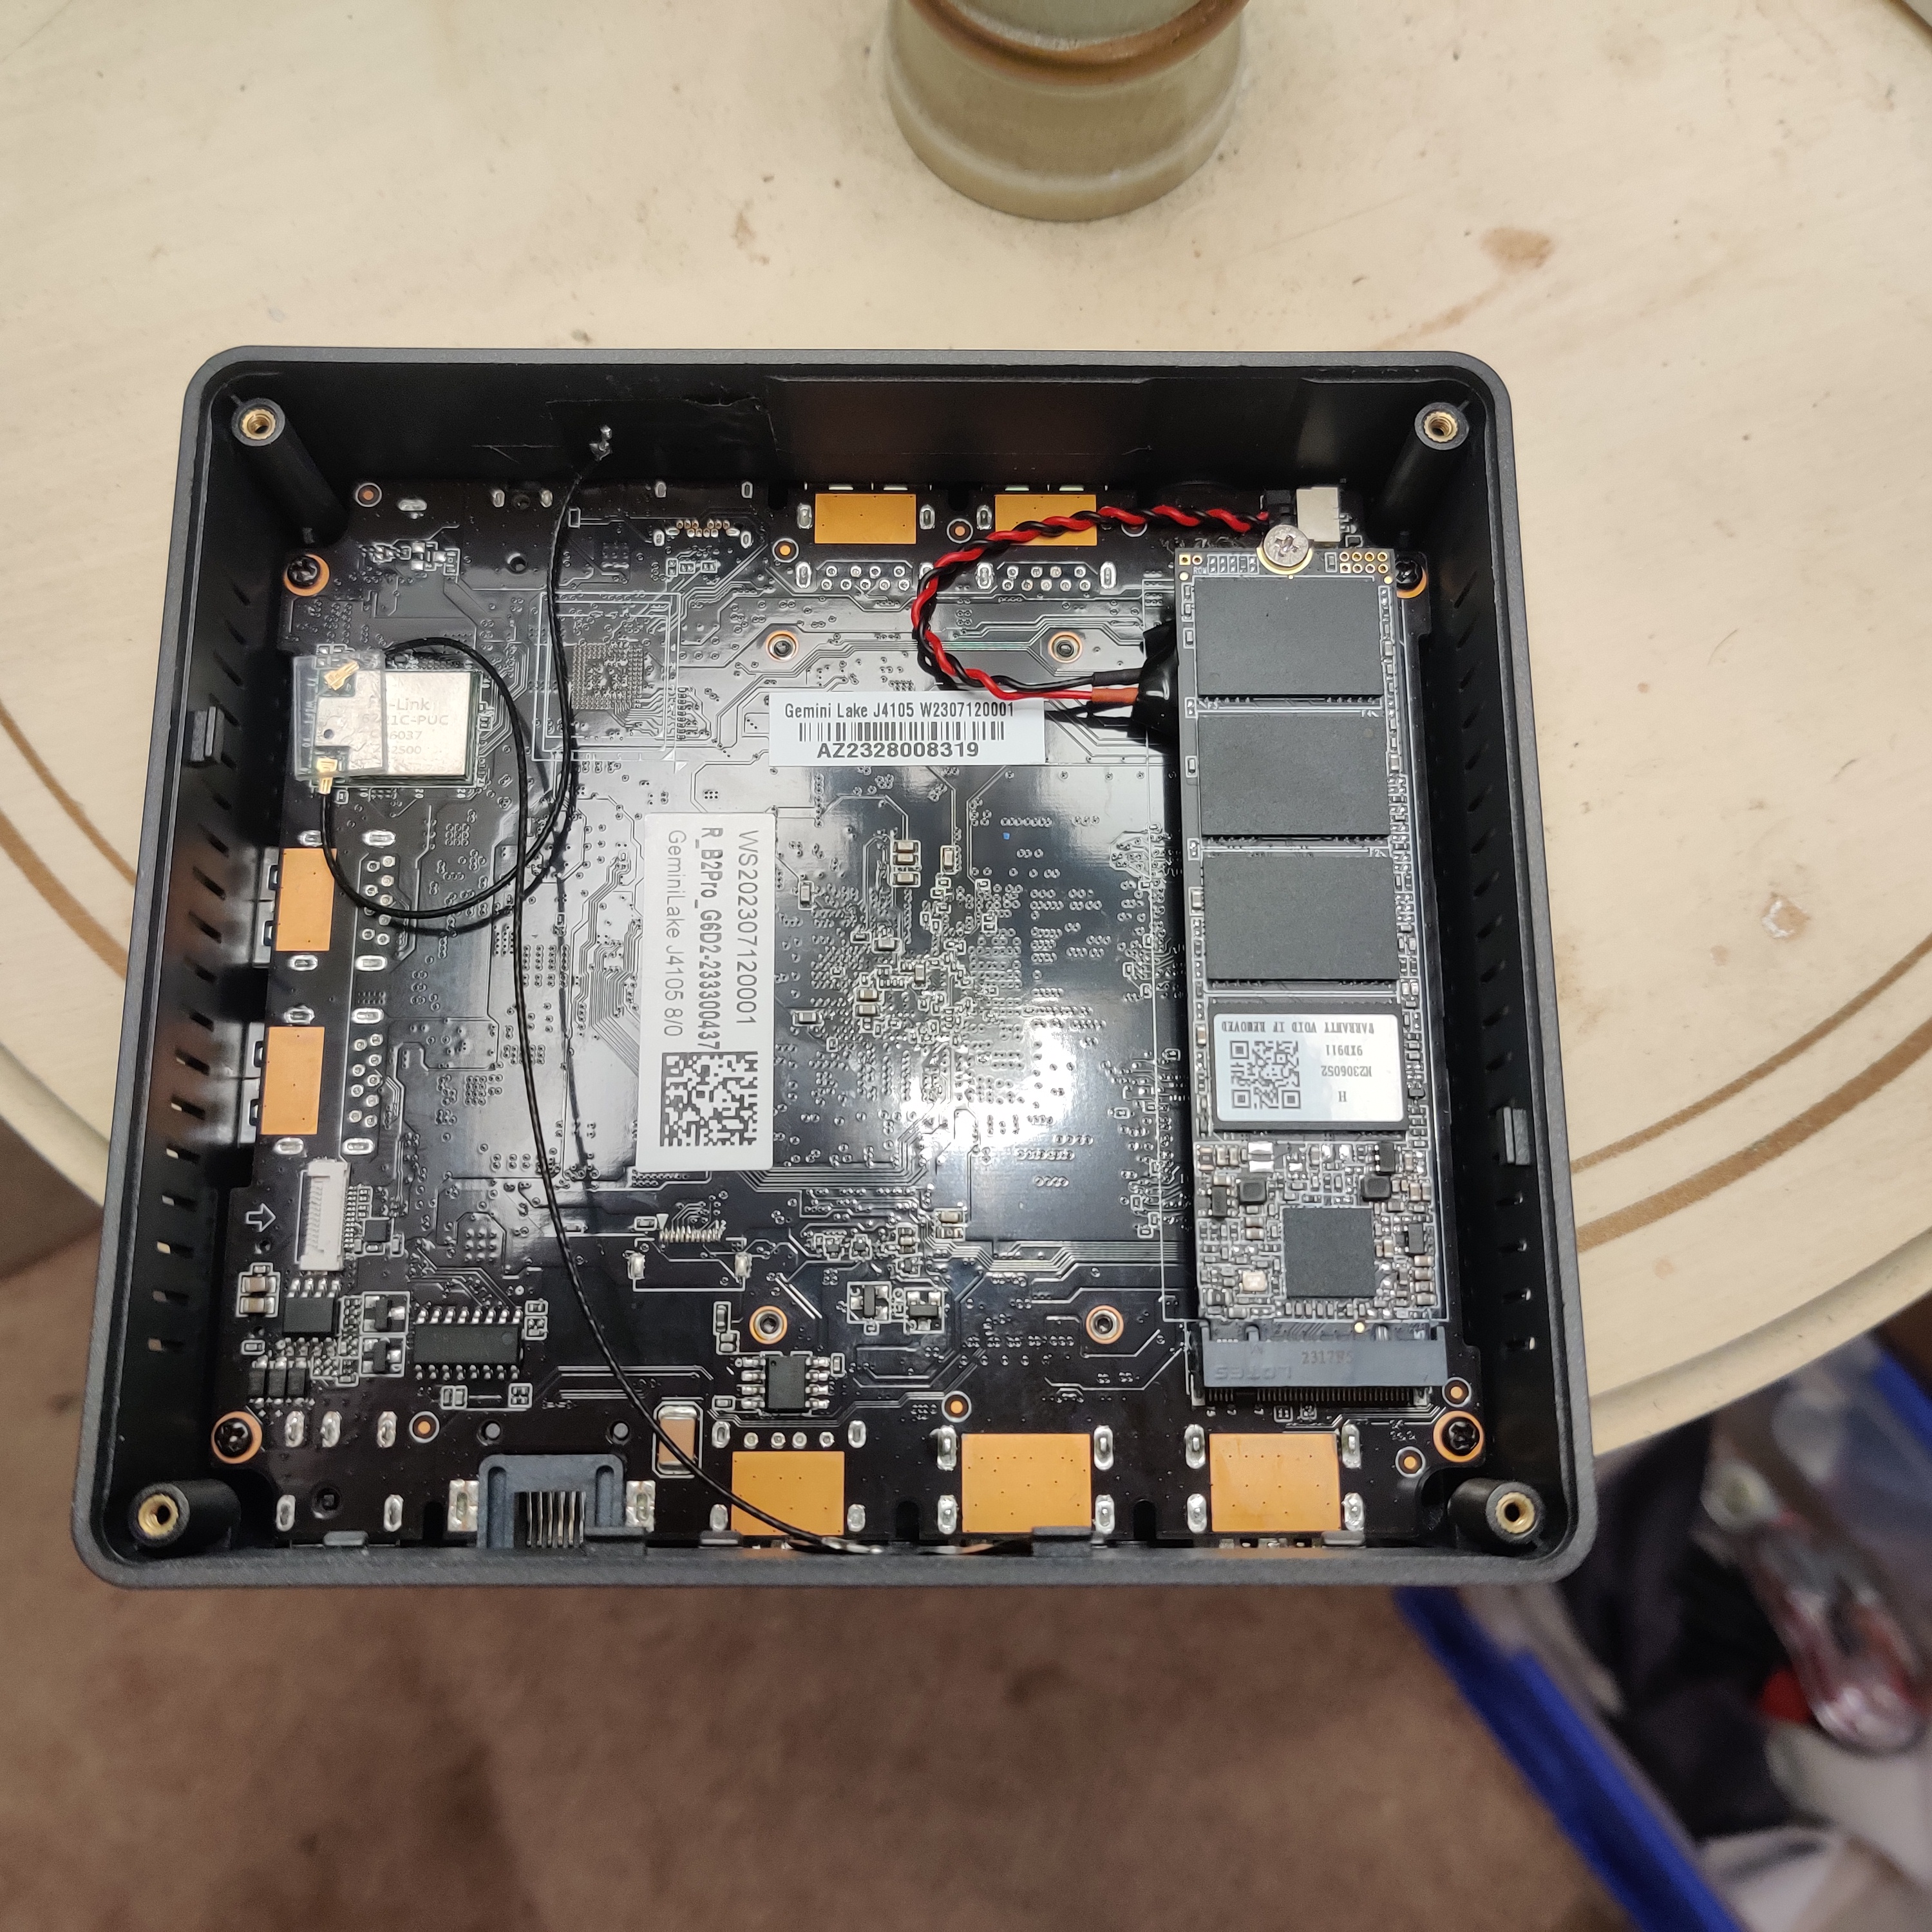
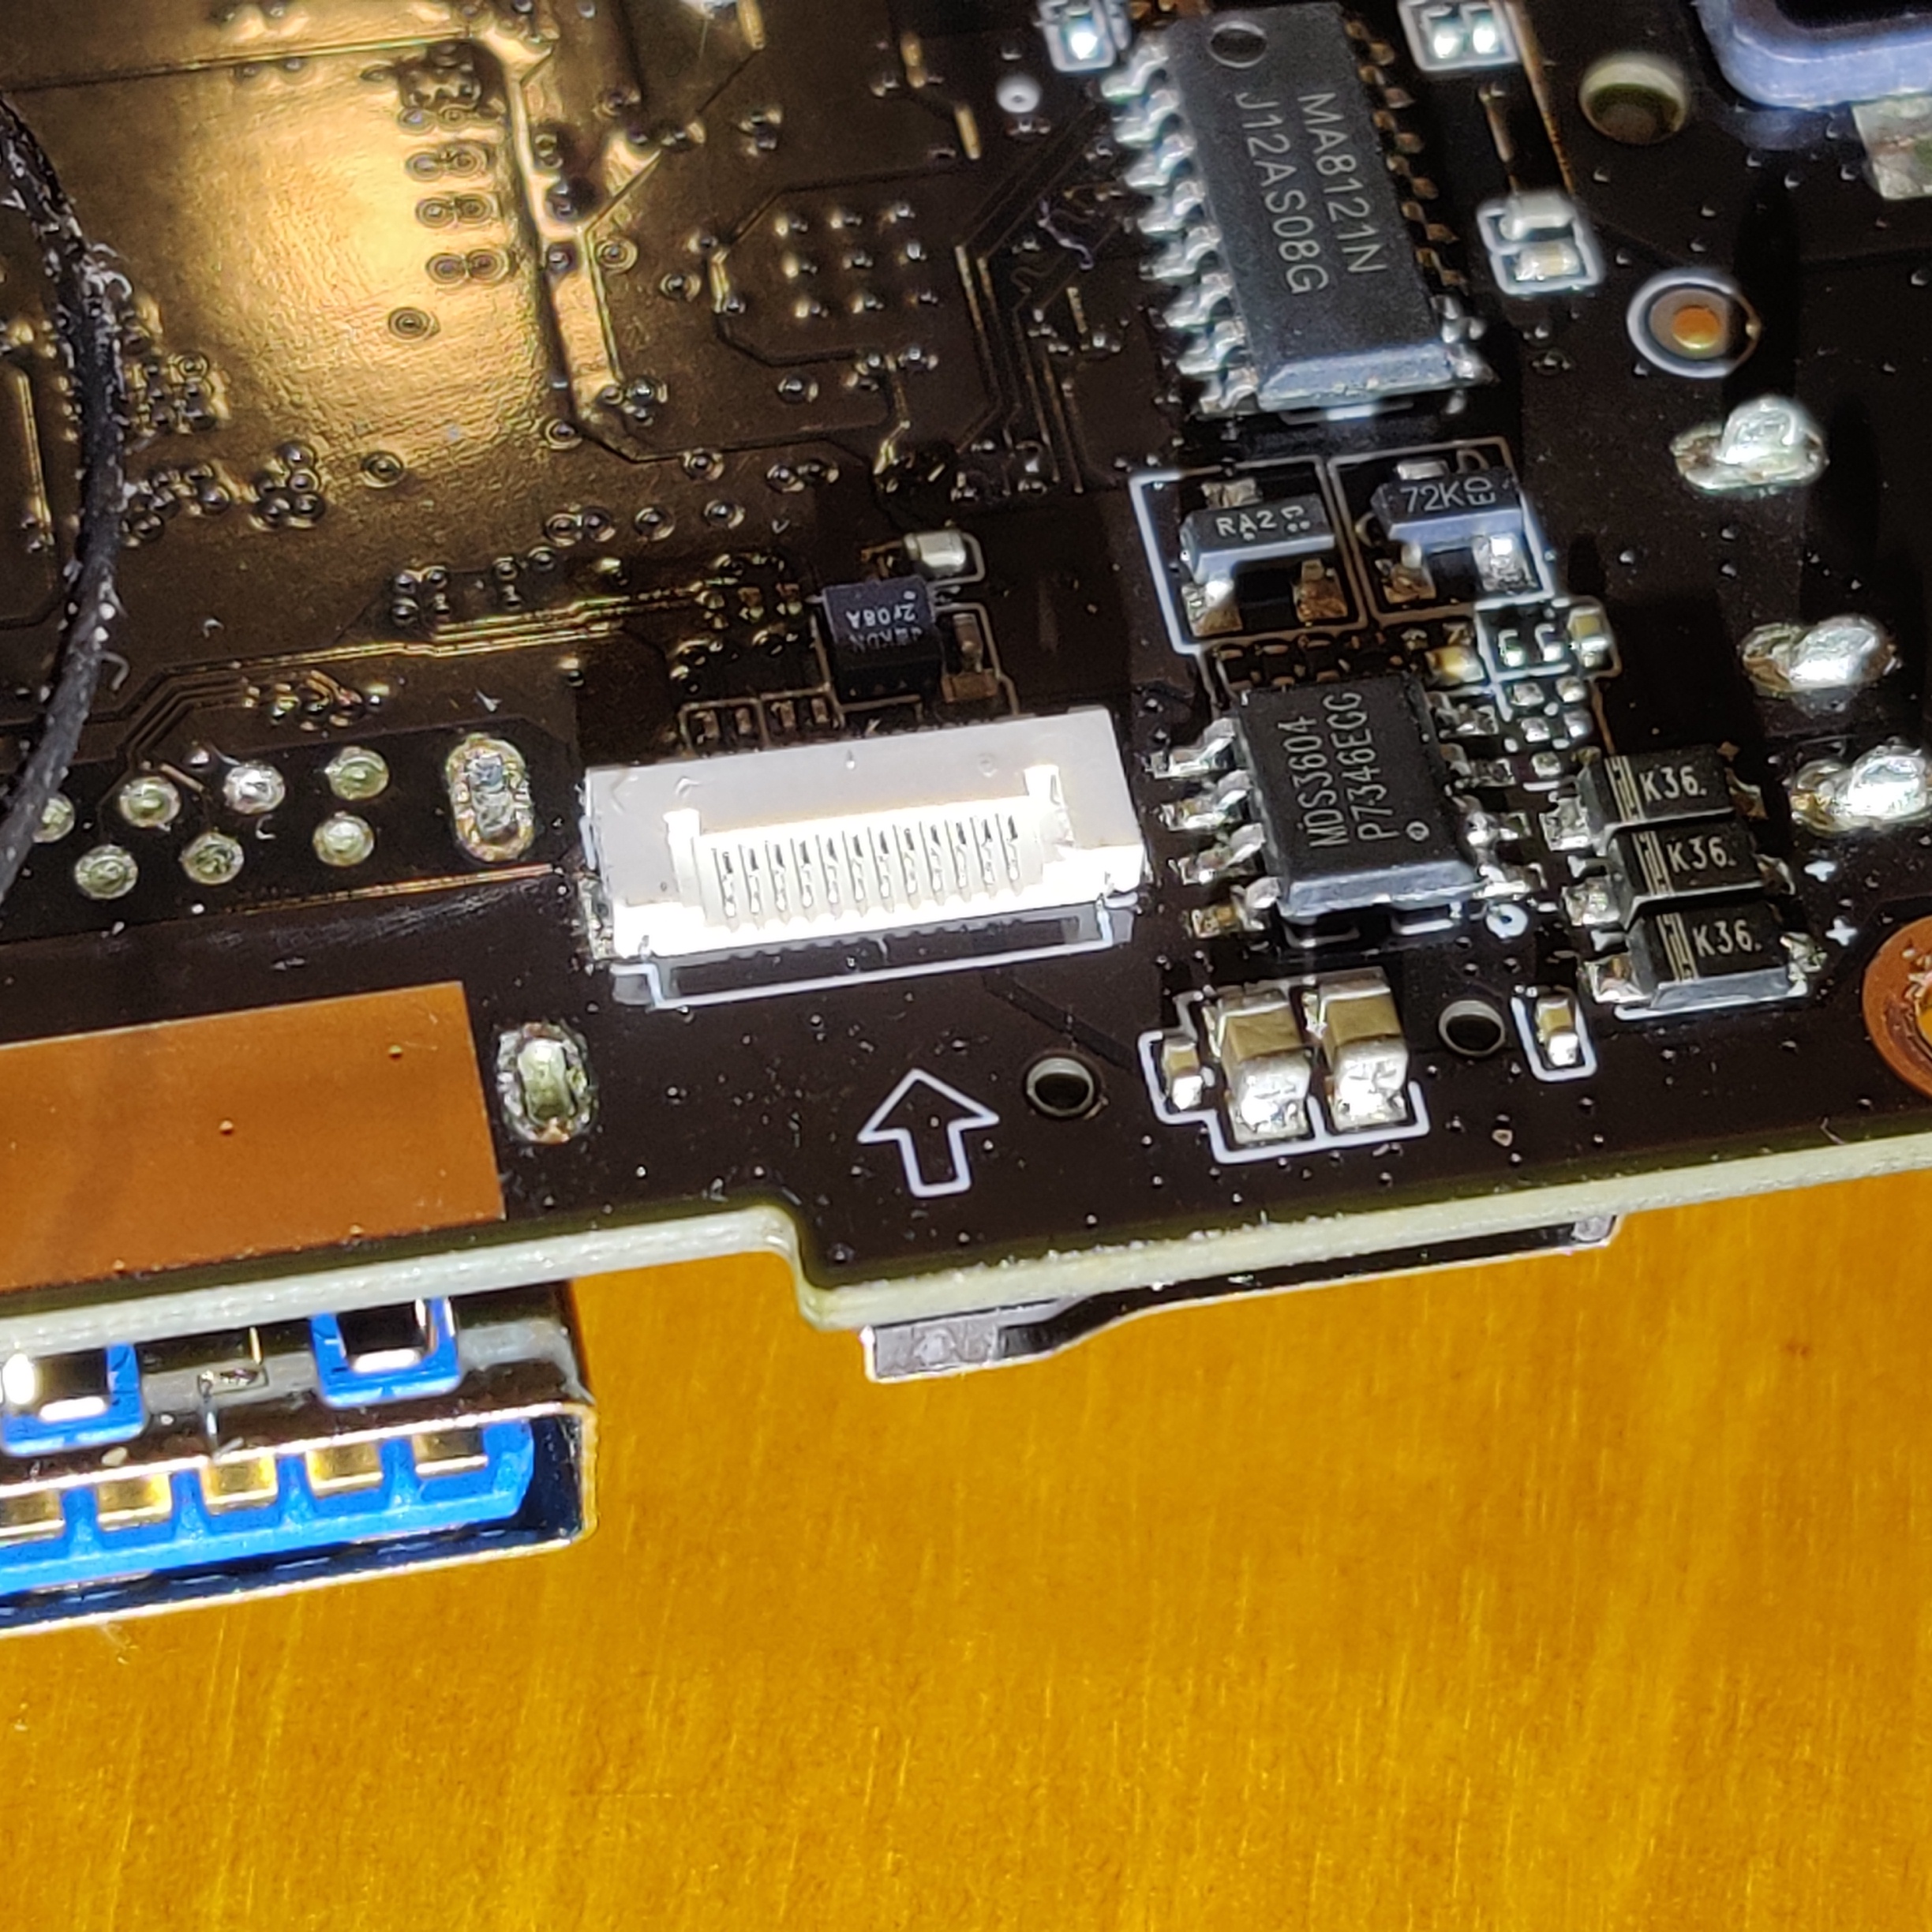
Disk Partitioning:
If we're clever about how we partition the solid state drive on the BMAX,
we'll be able to do complete OS changes in the field, even from Linux to a
different OS if we wish. I recommend partitioning:
First, it should be a GPT partition so that the UEFI BIOS understands it,
not an old-style MBR partition. Check that fdisk displays: "Disklabel type: gpt"
- EFI (BIOS boot) partition: 256MB. This is where the programs live
that are needed for new-style UEFI BIOSes to boot the machine to the point
where Linux's GRUB bootloader can take over and boot Linux.
-
Root: 20GB. This is where our Debian Linux installation lives.
-
Second Root: 20GB. This is where a future alternate OS will live should we
ever decide to move away from Debian Linux.
-
Data: remainder of the drive space. This should be a Linux LVM partition.
We can use Linux Volume Manager to create and destroy partitions while the OS
is running and place them where we want within the filesystem.
Here's what it looks like in FDISK:
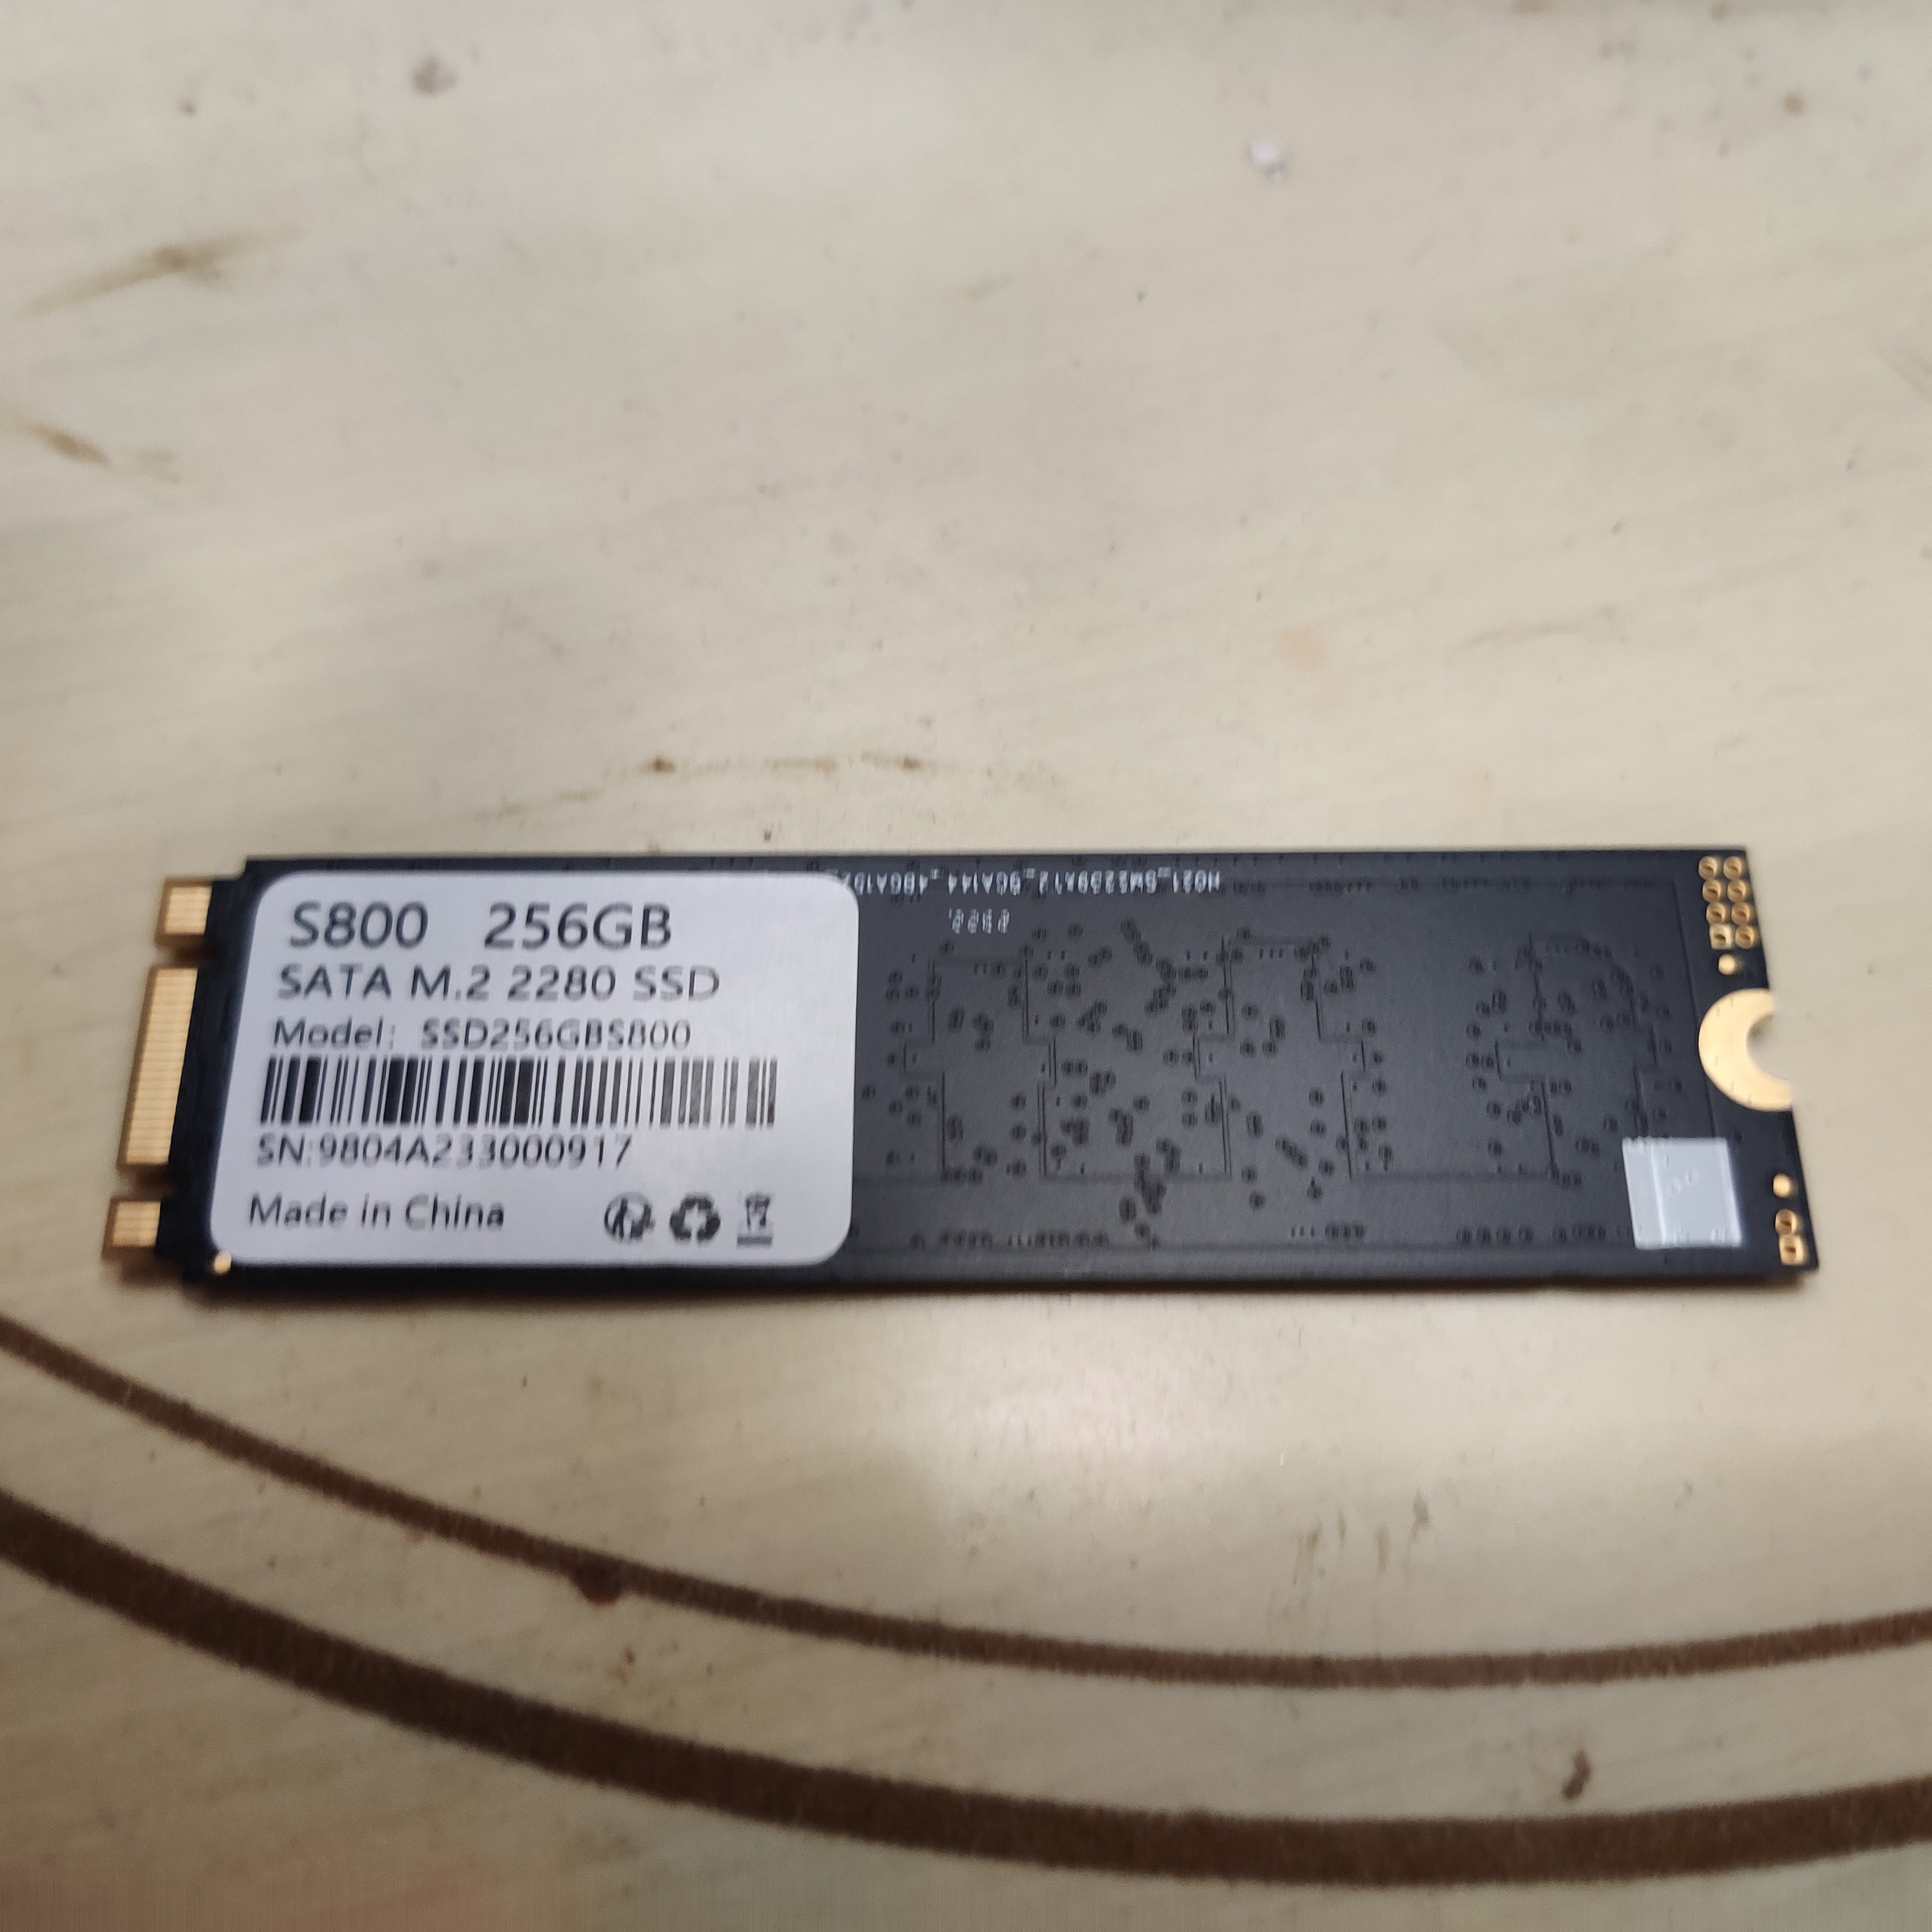
Disk /dev/sda: 238.47 GiB, 256060514304 bytes, 500118192 sectors
Disk model: SSD256GBS800
Units: sectors of 1 * 512 = 512 bytes
Sector size (logical/physical): 512 bytes / 512 bytes
I/O size (minimum/optimal): 512 bytes / 512 bytes
Disklabel type: gpt
Disk identifier: AAF054FD-533D-4A72-A5A7-ABAED67FE1A2

Device        Start       End   Sectors   Size Type
/dev/sda1      2048    526335    524288   256M EFI System
/dev/sda2    526336  42469375  41943040    20G Linux filesystem
/dev/sda3  42469376  84412415  41943040    20G Linux filesystem
/dev/sda4  84412416 500117503 415705088 198.2G Linux LVM

Overall: Satisfactory. Preferred over B2S.
Price: $110
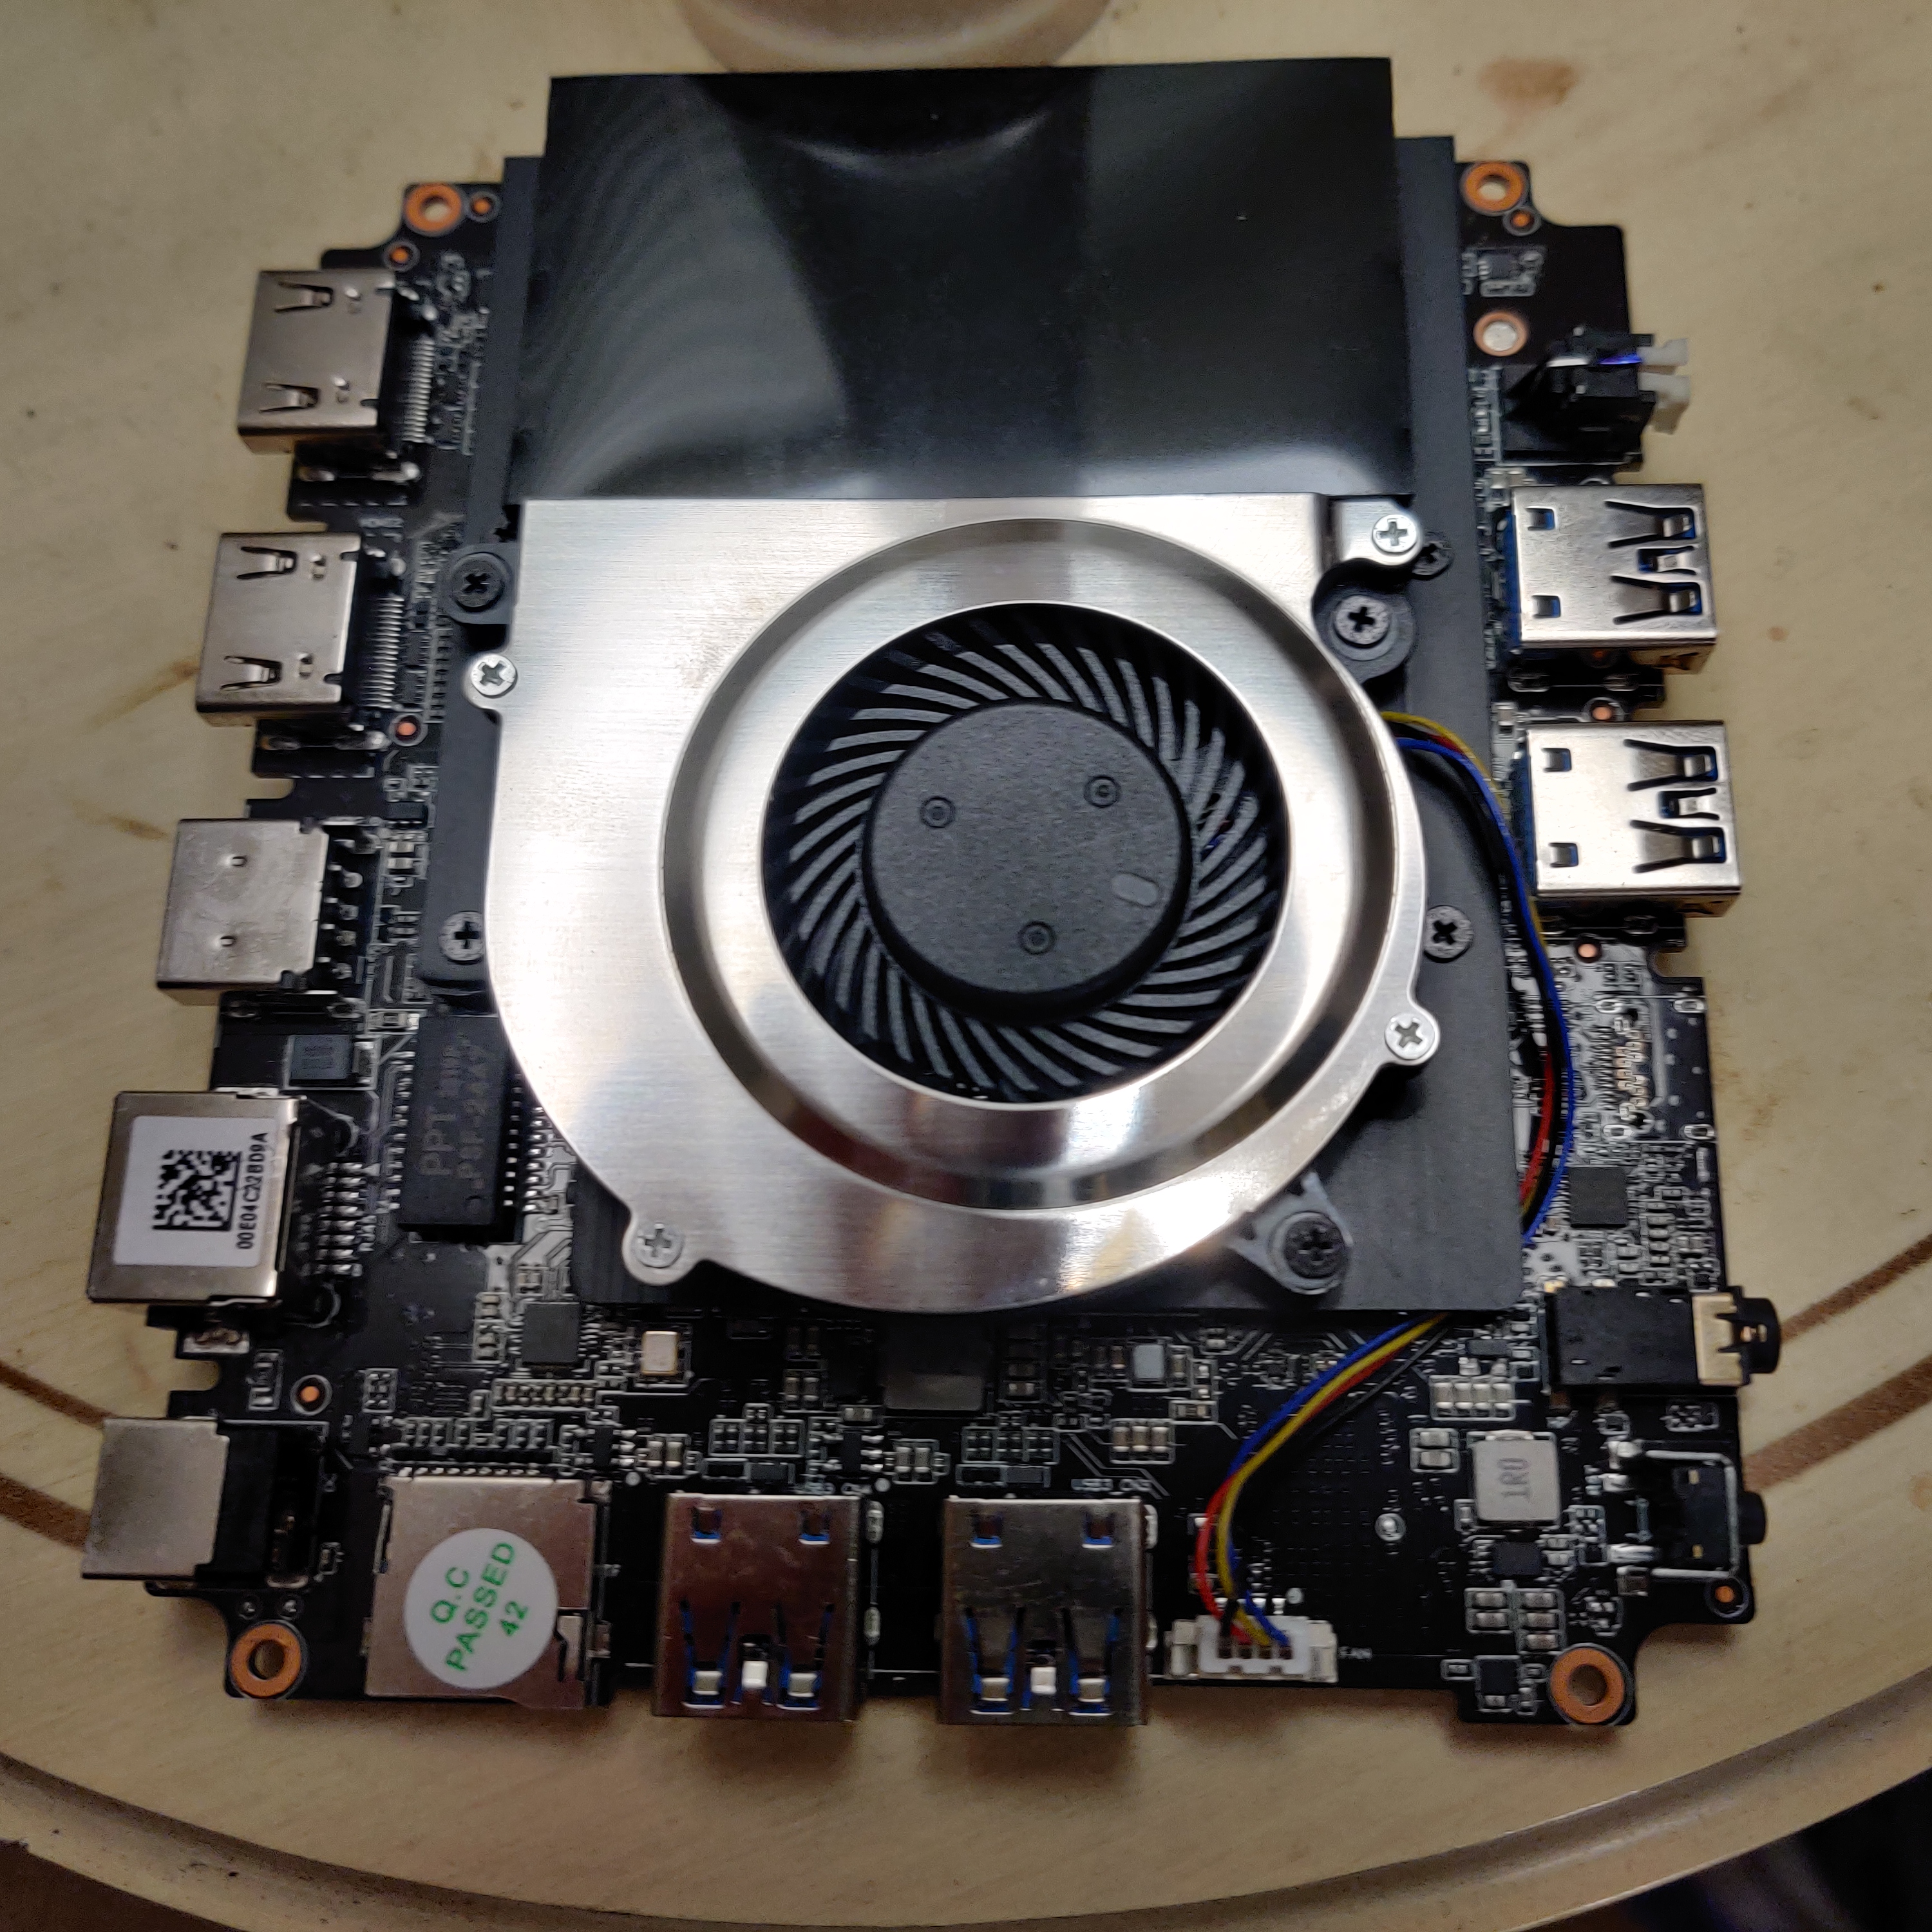
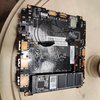
Best attributes: Good cooling, repairable
Worst attributes: Some fan noise. Larger than the Raspberry Pi
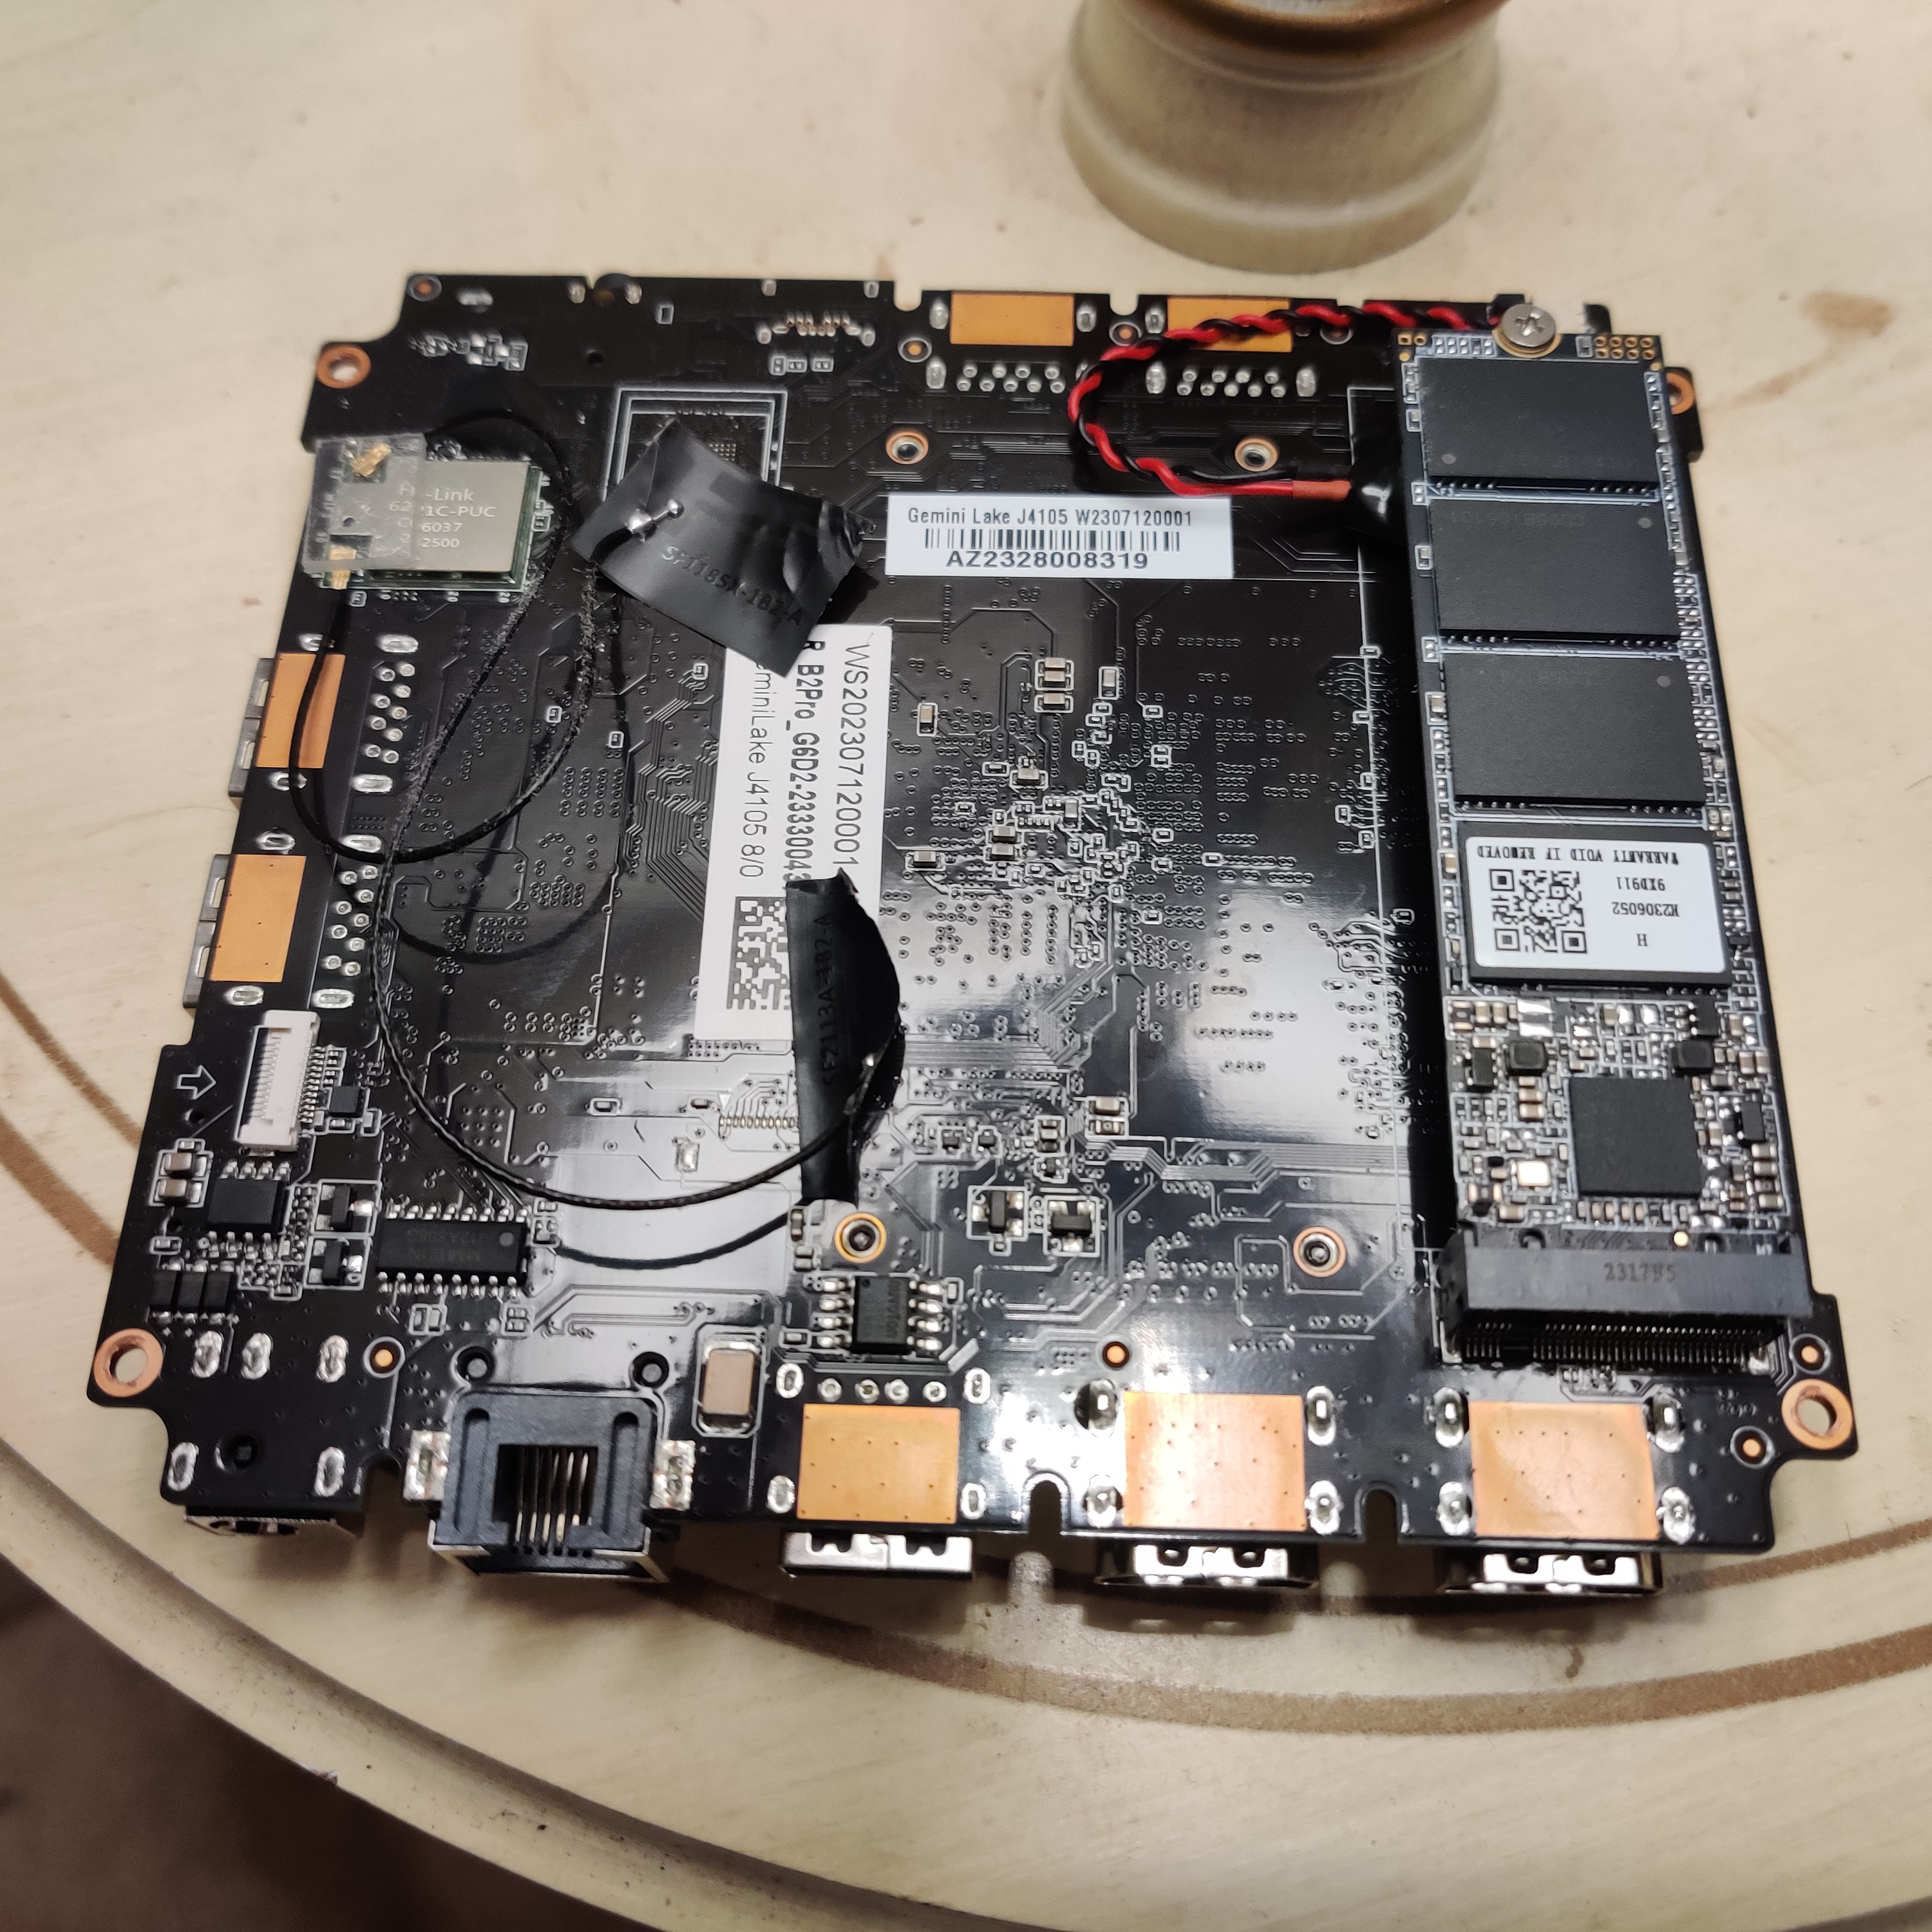
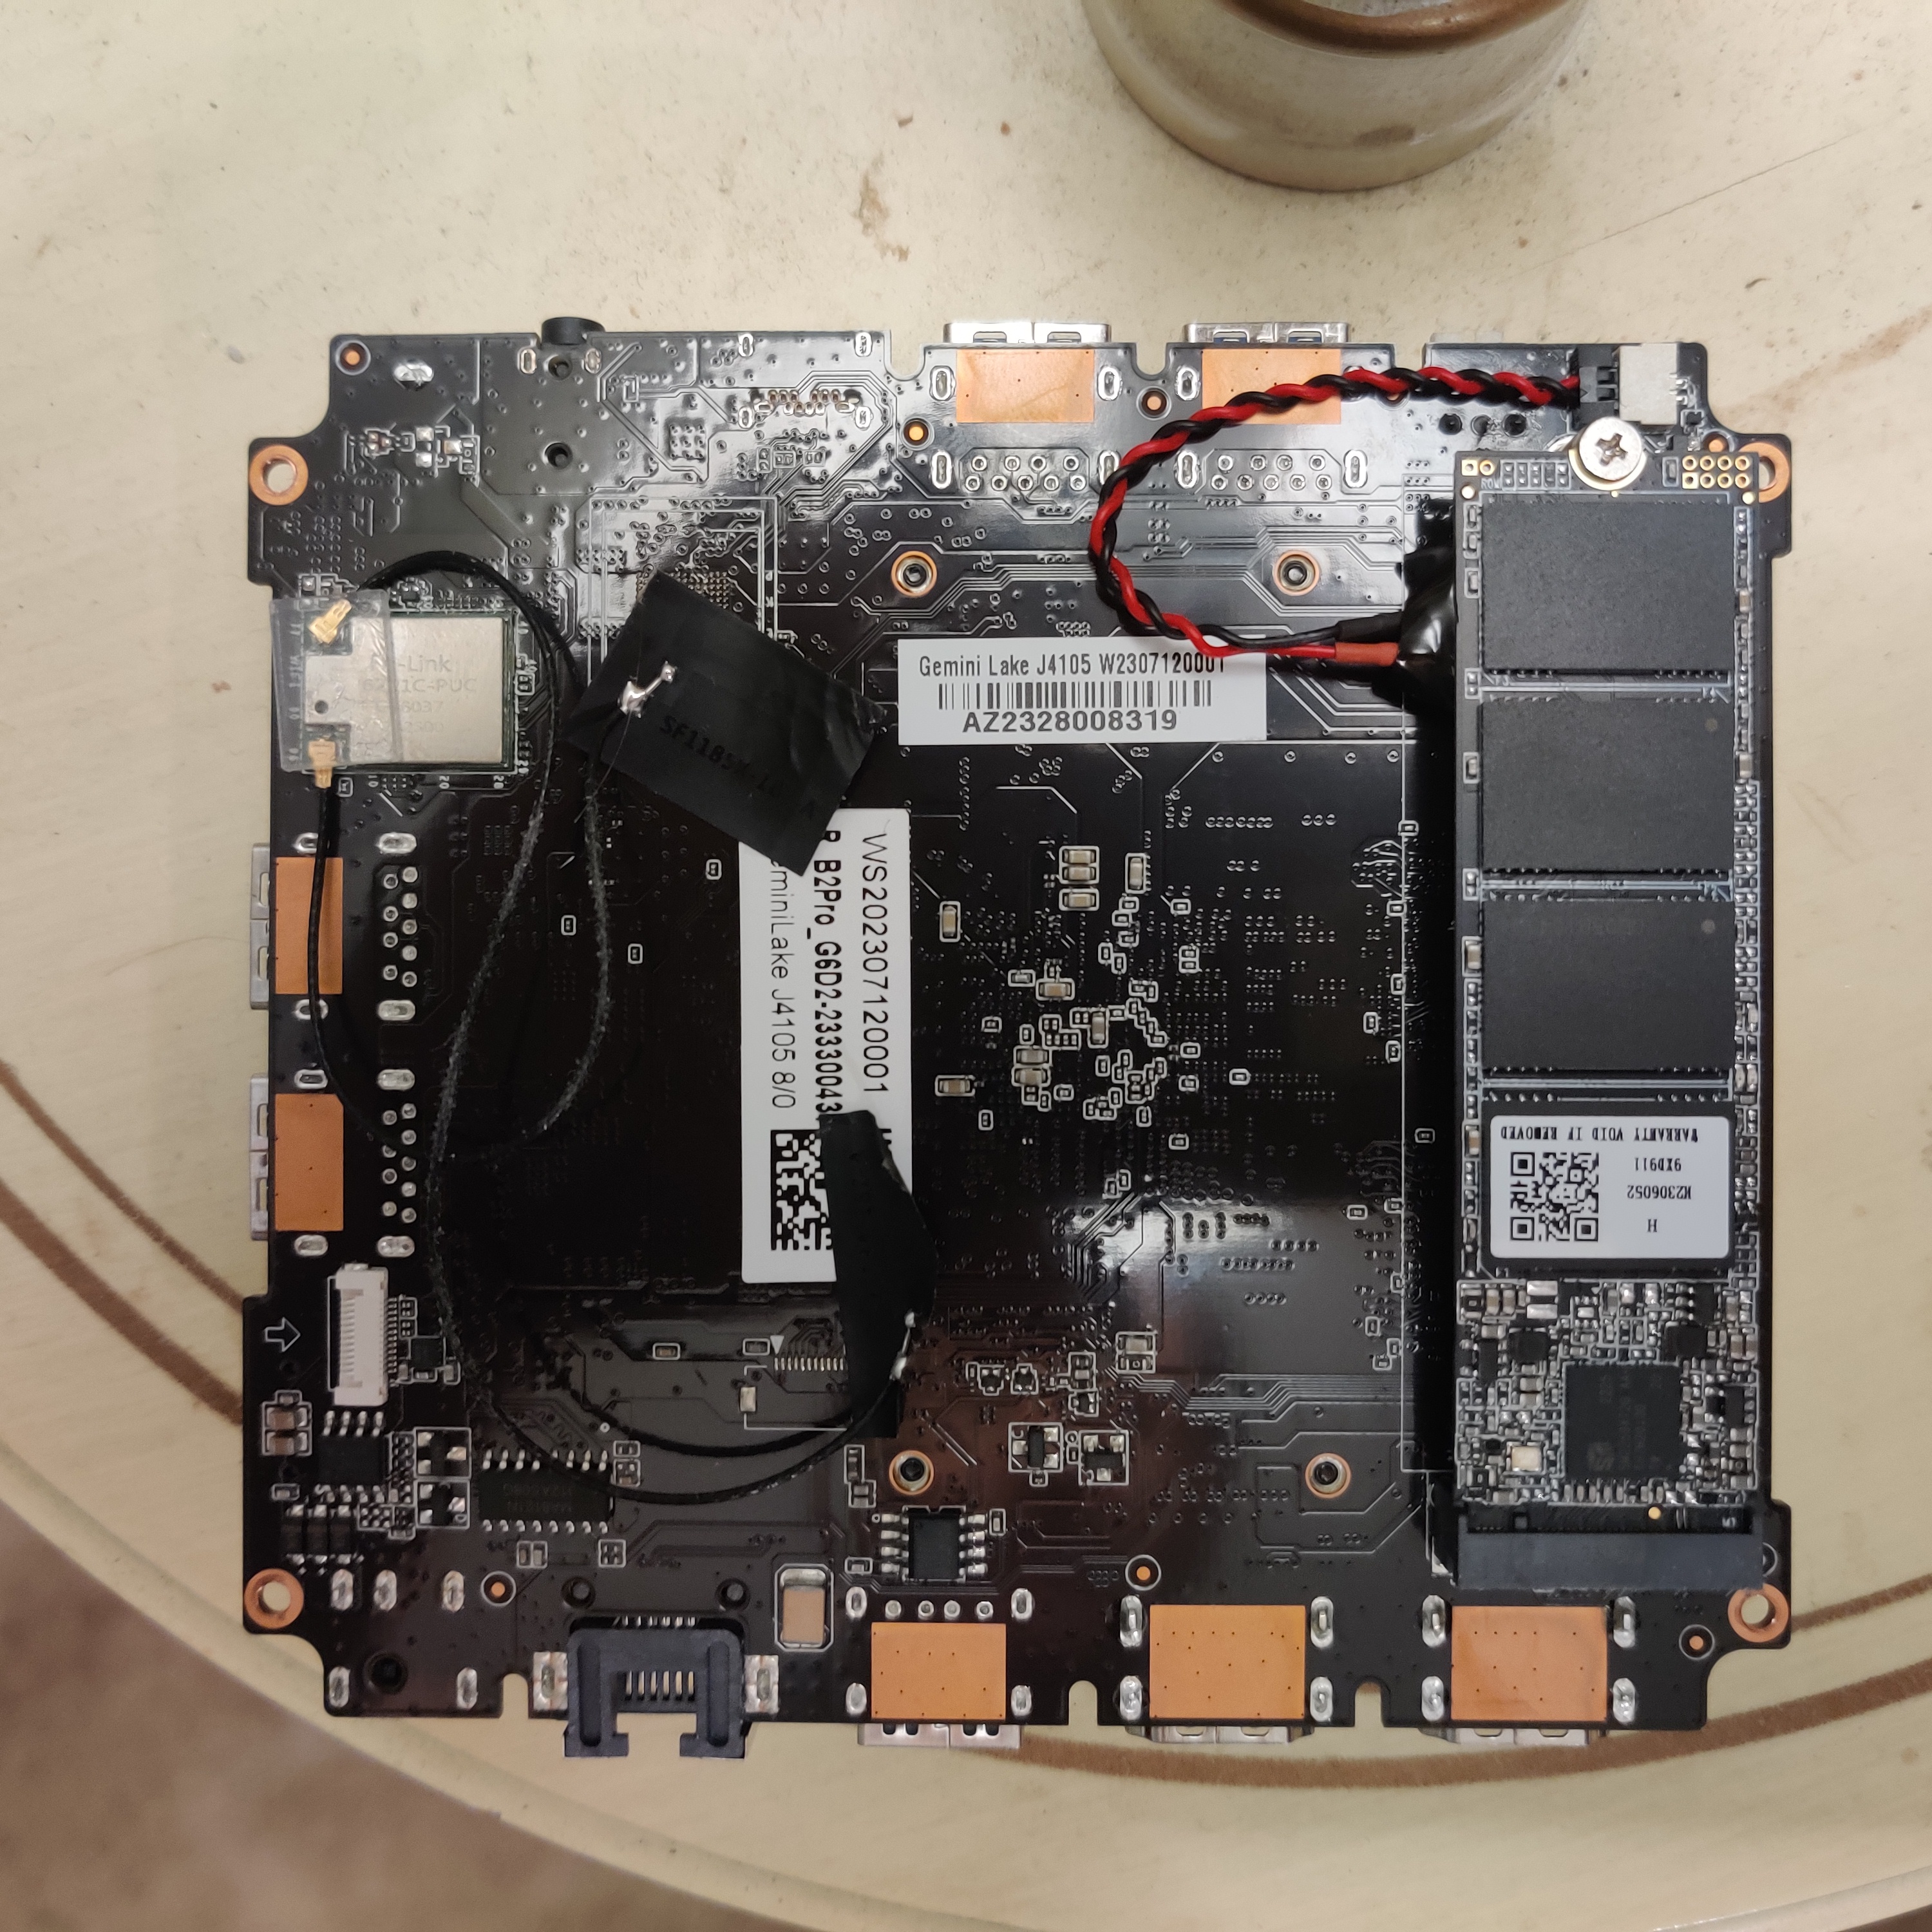
CPU: Intel J4105. 4 x 1.5ghz burst to 2.5ghz, 4M cache (2017)
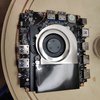
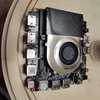
RAM: 8 gigs
Cooling: CPU blower. Speed adjustable in bios. Audible.
38C idle -> 55C under load. Minor modification to plasic case
(5 mins w/ dremel tool) to enlarge the exhaust port, drops temperature
back to 48C.
Rack mounting: maybe. Very tight fit.
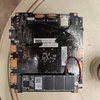
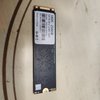
Disk: 256gigs m.2 2880 SATA SSD. Practical to write an
image using a USB adapter on another computer (like we do for the Raspberry
Pi) and the install it in the machine.
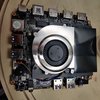
Disassembly: Trivial. All screws accessible. 5 minutes.
BIOS: auto power on, select UEFI boot drive.
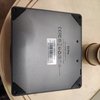
Power: standard 3.0A @ 12V (36 watt) positive tip barrel
adapter PS like is used with tons of SOHO routers and switches. Readily
replaceable.